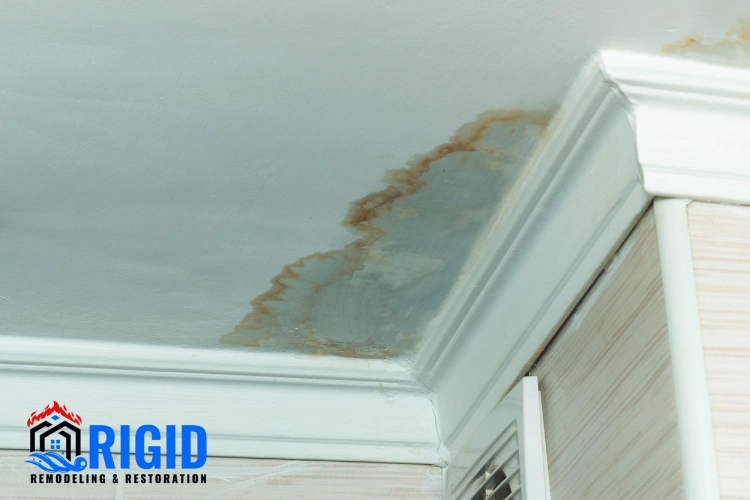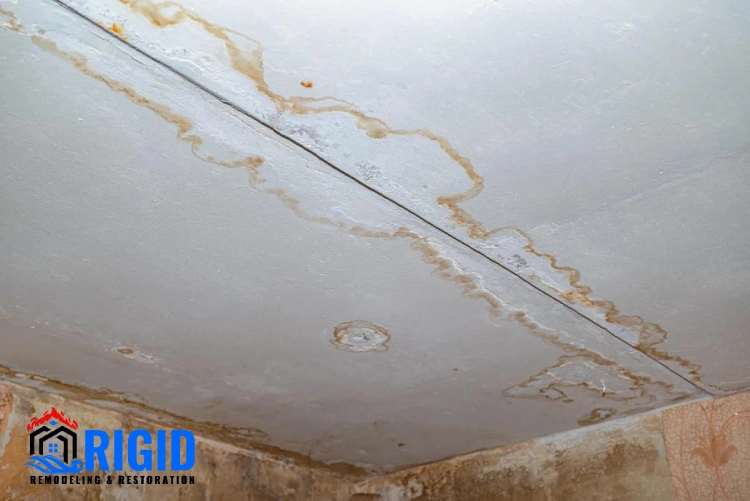
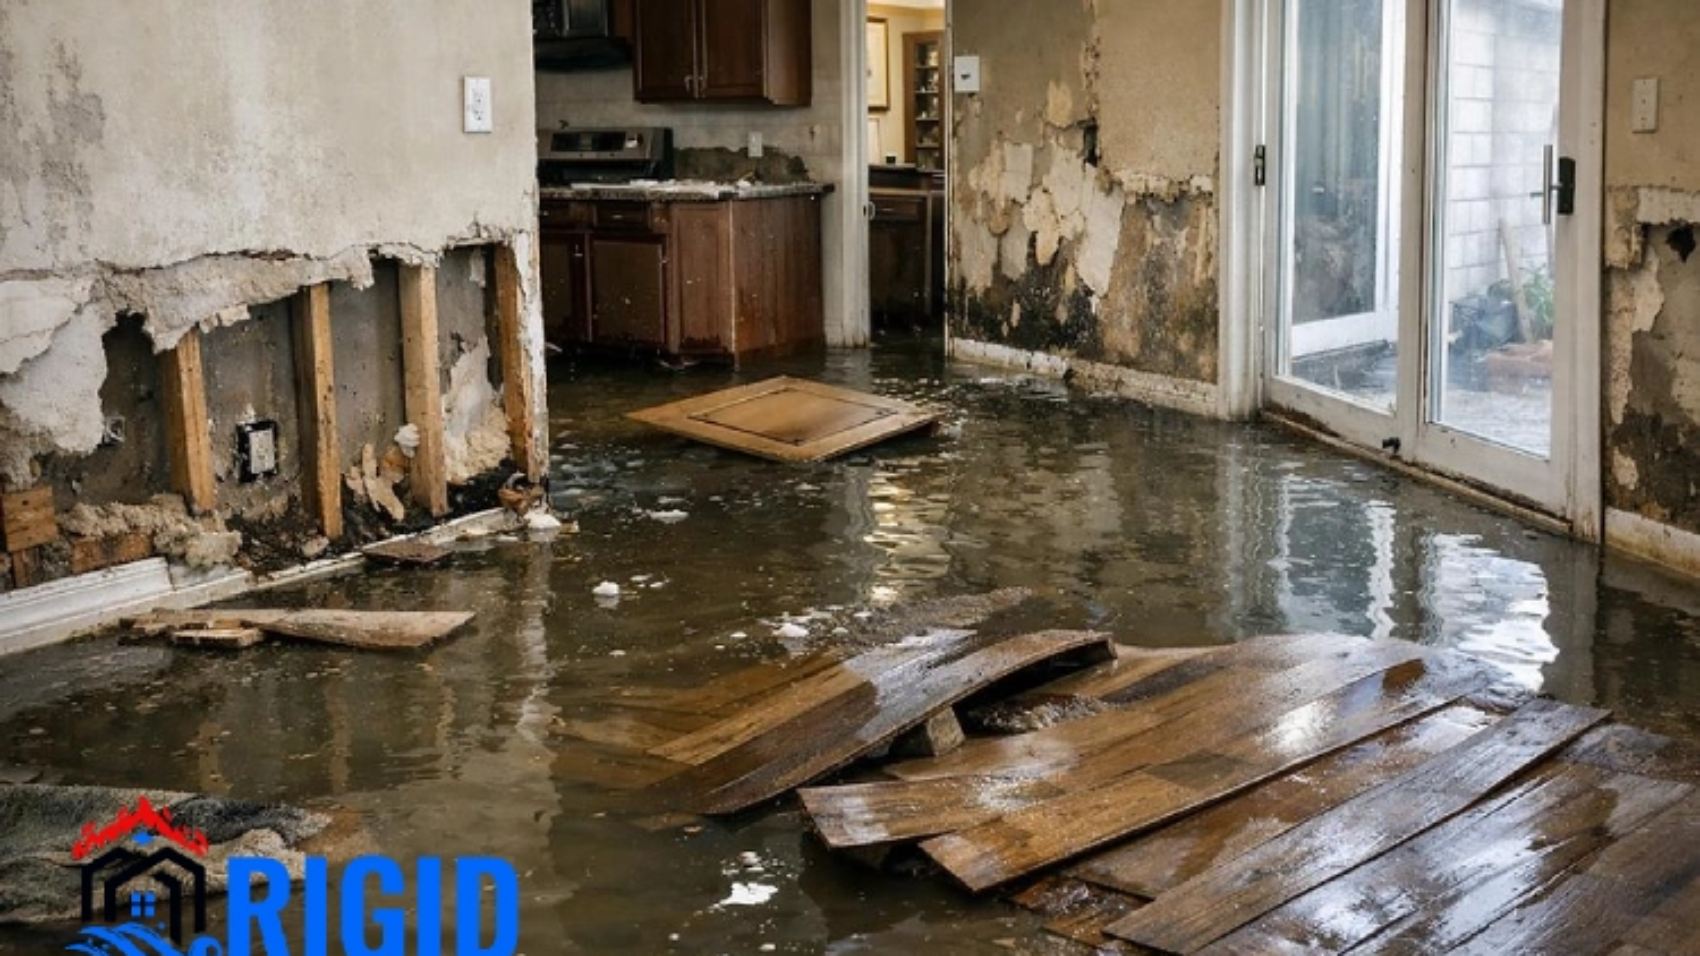
How Quickly Can Standing Water Cause Structural Damage

How Long Can Water Sit Before Structural Damage Begins?

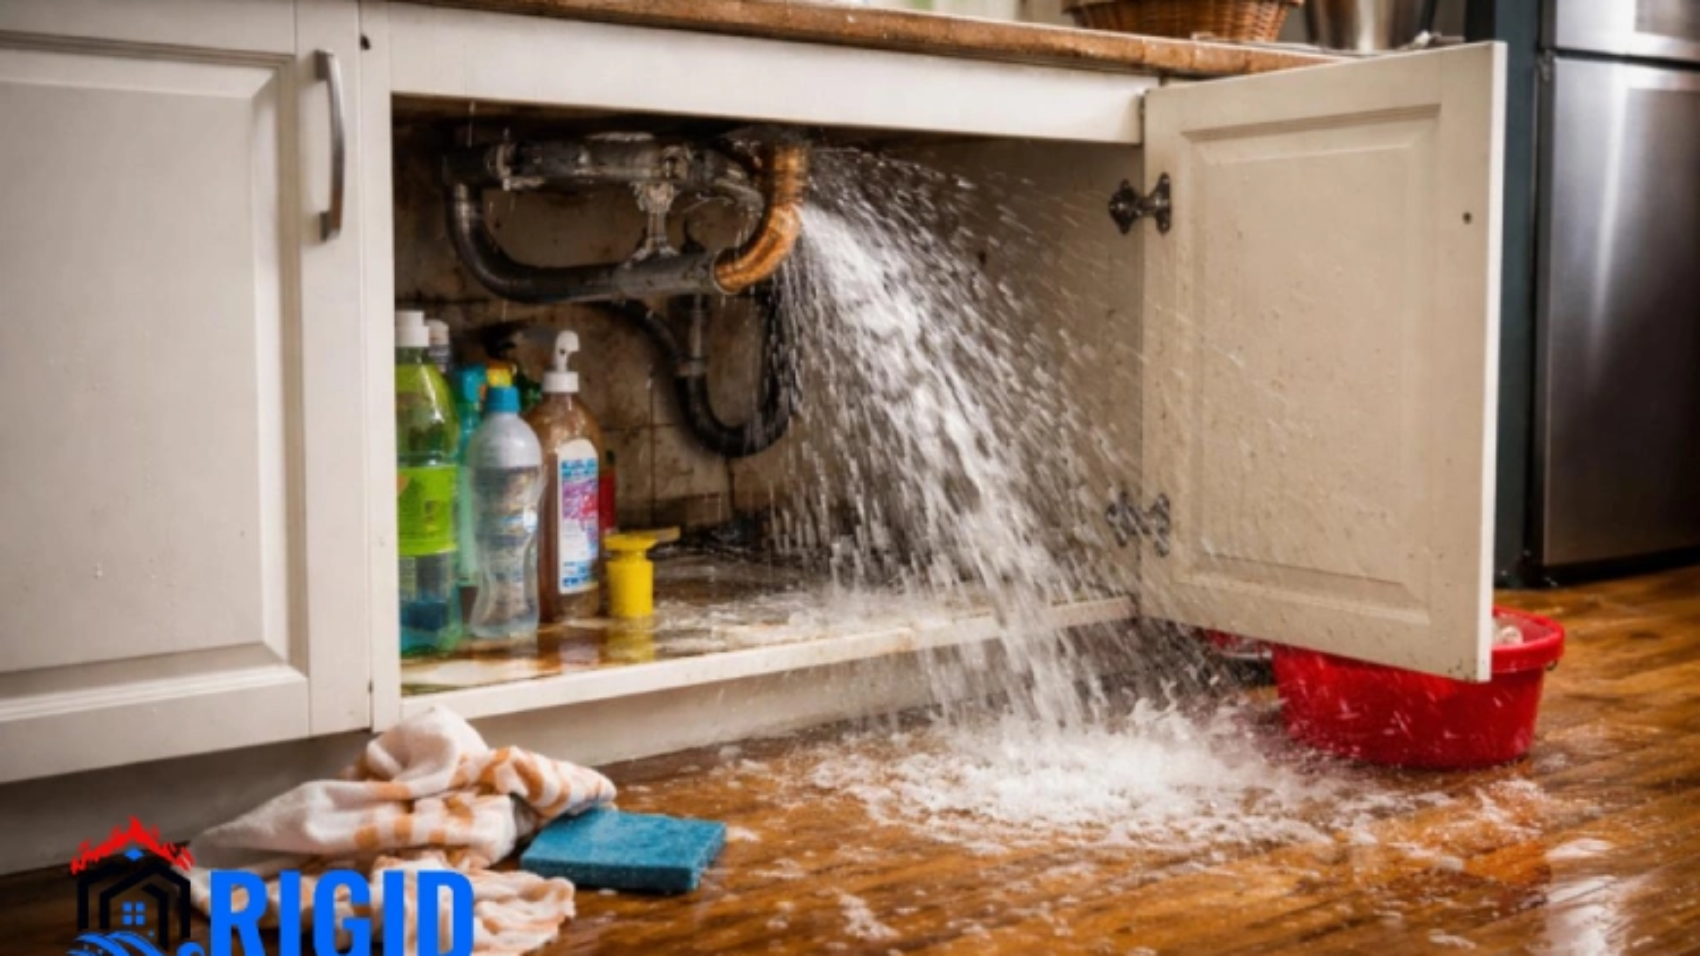
Structural water damage is one of the most serious threats to a home. When water enters your living space, it doesn’t just stain surfaces. If left unchecked, it can weaken beams, warp floorboards, and compromise the integrity of your house. The real question many homeowners ask is: how long before water damages house structure? In this article, we break down the timeline of water exposure and explain how quickly structural problems can begin.

What Is Structural Water Damage?

Structural water damage happens when moisture affects the framework of your home. This includes:

  • Wall studs and framing
  • Floor joists and subflooring
  • Ceiling support beams
  • Foundation materials

Unlike cosmetic water damage, such as peeling paint or stains, structural water damage affects the strength and safety of your house. It can lead to:

  • Rotting wood
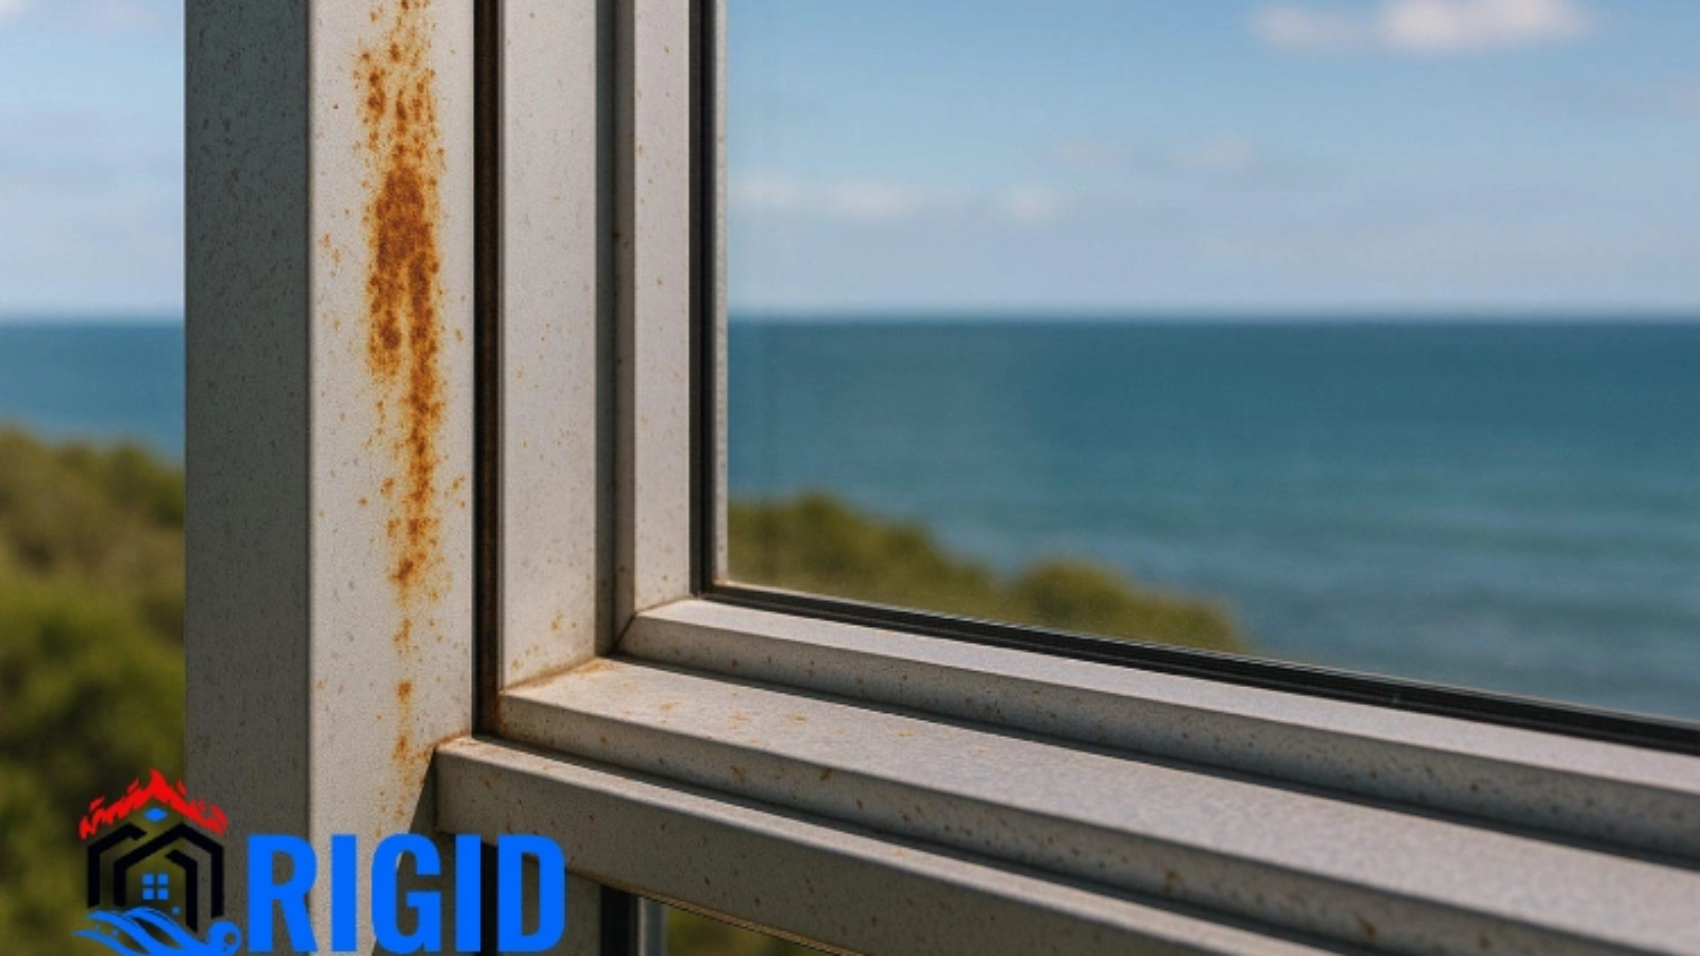
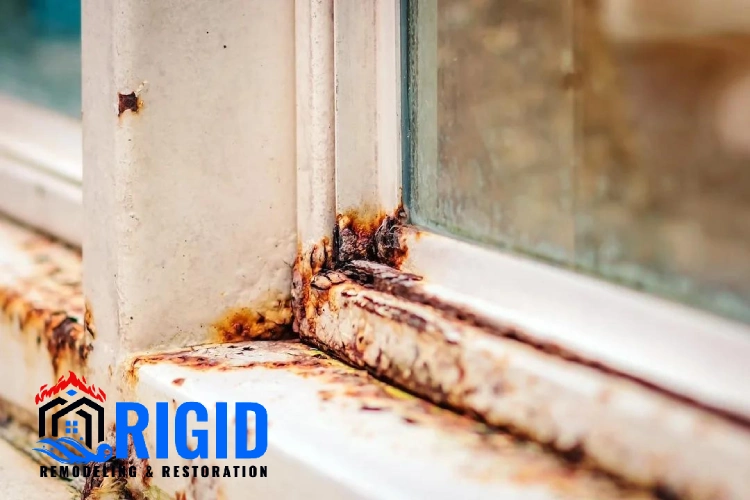
  • Rusted metal fasteners
  • Cracked foundations
  • Sagging ceilings

Because the risks are high, understanding how long water can remain before serious damage begins is critical.
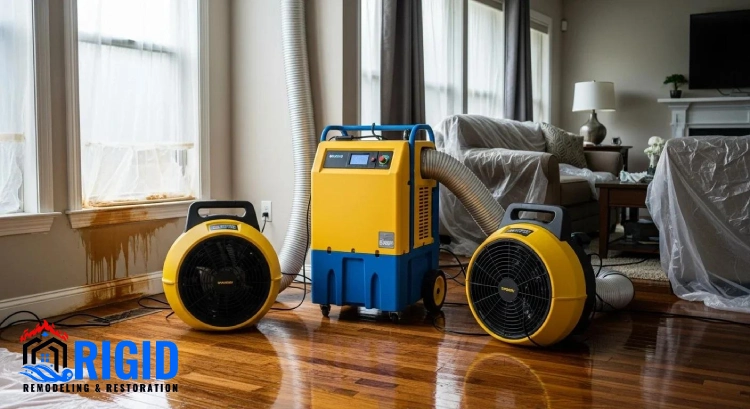
When Does Water Damage Start Affecting a Home’s Structure

How Long Before Water Damages House Structure?

There is no single answer. The time it takes for structural damage to begin varies based on:

  • Amount of water
  • Source of water
  • Temperature and humidity
  • Materials affected
  • Ventilation

Still, experts have established general timelines that help homeowners understand risk levels.

  1. First 24 Hours: Risk Begins

In the first 24 hours, visible signs of damage may be minor. You might notice:

  • Warping wood
  • Bubbling paint
  • Damp drywall
    But structural materials are already absorbing water. Wood starts to swell and weaken. If water remains, the risk increases rapidly.

At this stage, calling a restoration professional is already recommended.

  1. 24 to 48 Hours: Mold and Rot Kick In

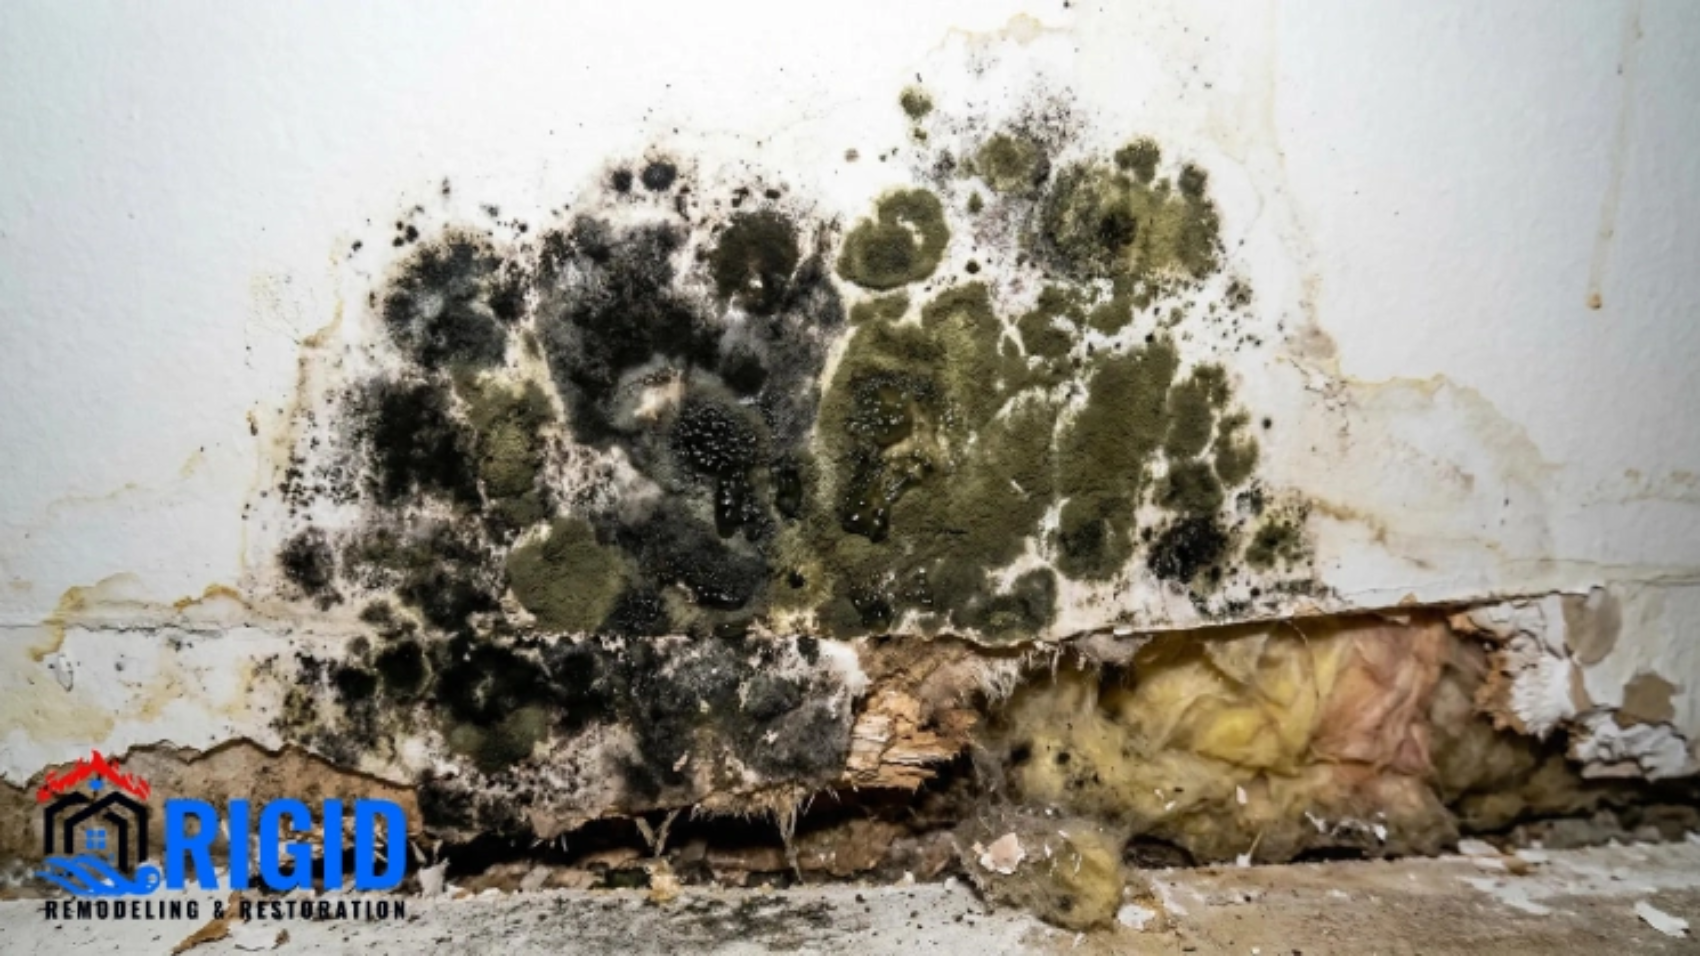
After 24 hours, mold spores begin to grow. Mold doesn’t just discolor surfaces. It eats away at wood and other organic materials. Within 48 hours:

  • Wood framing begins to deteriorate
  • Drywall loses strength
  • Insulation traps moisture

At this point, structural water damage becomes more likely. Mold can spread inside walls and under flooring. Left untreated, small problems become expensive repairs.

  1. 48 to 72 Hours: Major Damage

Once water sits for more than two days, the structure starts to fail. Wood beams absorb moisture and lose load‑bearing strength. Flooring can delaminate, and metal fasteners begin to corrode. At this stage:

  • Ceiling sagging may start
  • Floors may feel soft
  • Walls may bow outward

Even after water is removed, repairs can be extensive.

  1. 72 Hours and Beyond: Severe Damage

When water remains for 72 hours or more, the damage can be catastrophic. Structural water damage at this point affects the core of your home’s support system.

Water trapped under floors or inside walls can:

  • Cause framing to rot completely
  • Warp structural beams
  • Lead to foundation cracks
  • Make rooms unsafe to occupy

Waiting this long often means full reconstruction of affected areas.

How Water Type Affects Damage Timeline

Not all water is equal. The type of water affects how quickly structural damage occurs.

Clean Water

This comes from rain, broken pipes, or leaks. It poses the lowest immediate health risk. Still, if it isn’t removed quickly, clean water can become contaminated and cause structural harm.

Grey Water

This water contains some contaminants. It comes from washing machines, dishwashers, or sinks. Grey water accelerates damage because it:

  • Feeds bacteria
  • Promotes mold
  • Weakens building materials faster

Black Water

This is the most serious. Black water comes from sewage backups or floods. It carries harmful pathogens and begins to erode building materials almost immediately. Structural water damage from black water requires professional cleanup.

Key Signs Your Structure Is Being Damaged

If water sits too long, your home will show signs of trouble. Watch for:

  1. Warped or Buckled Flooring
    Hardwood and laminate floors warp when exposed to excess moisture.
  2. Sagging Ceilings
    Water weakening ceiling joists can cause sections to bow or droop.
  3. Cracks in Walls or Foundation
    Moisture expands and contracts materials, leading to cracking.
  4. Soft or Spongy Subflooring
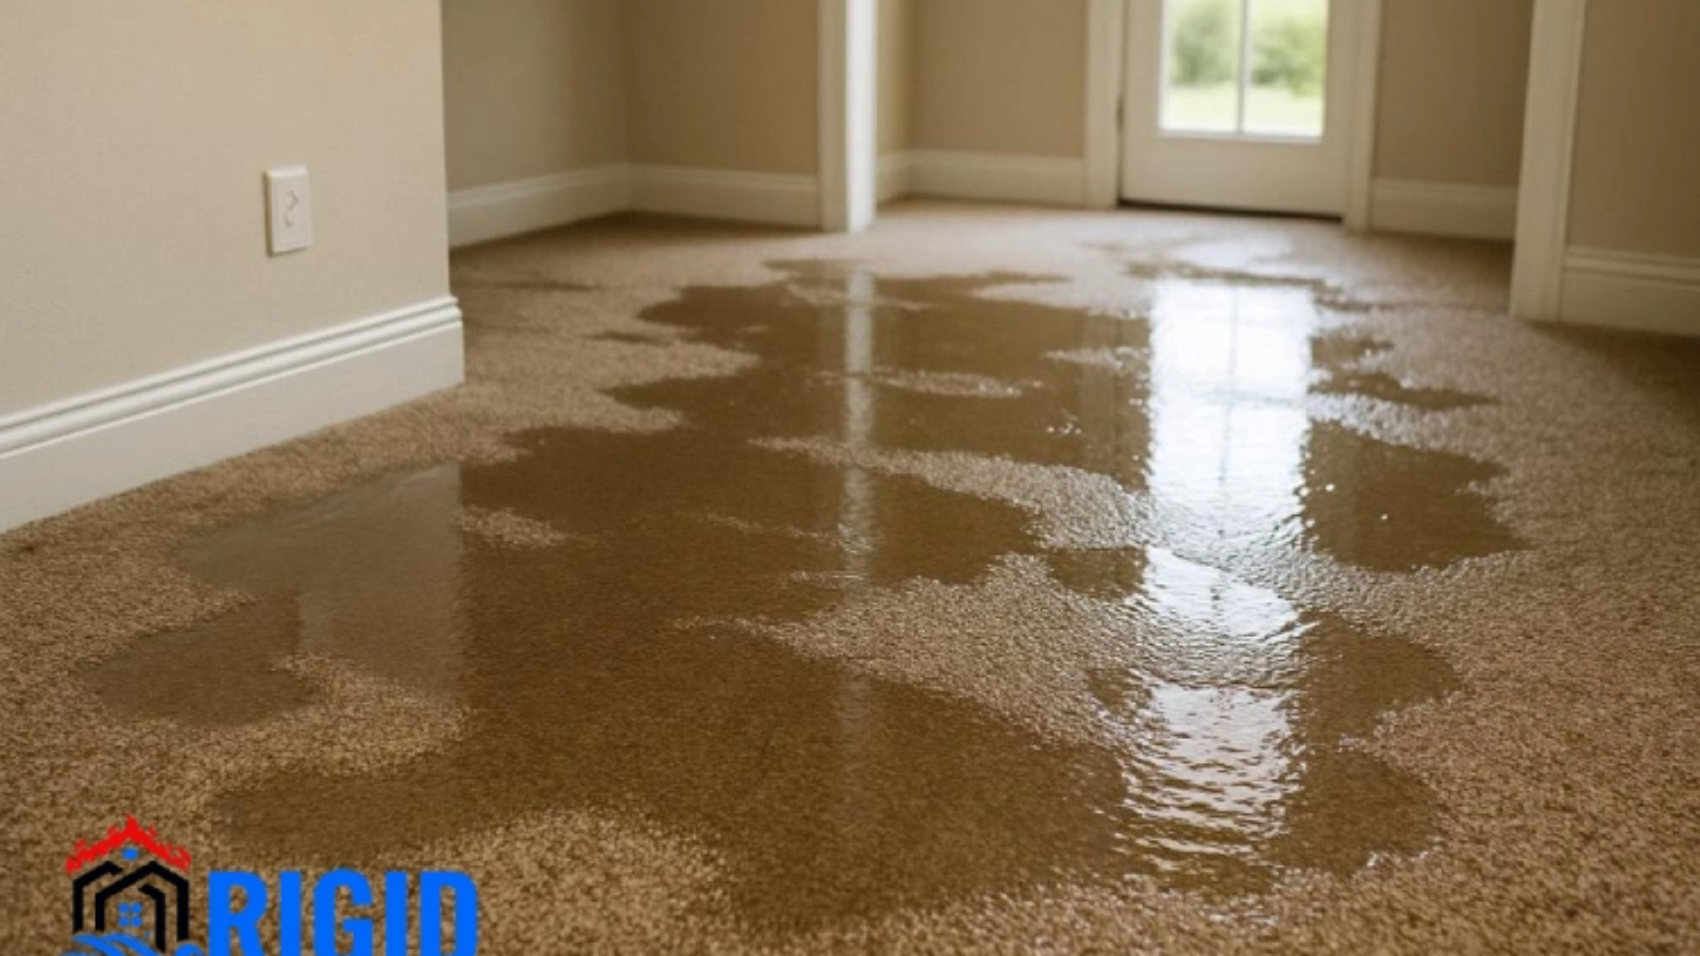
    Step on a floor near a leak. If it feels soft, structural damage is already happening.
  5. Persistent Mold
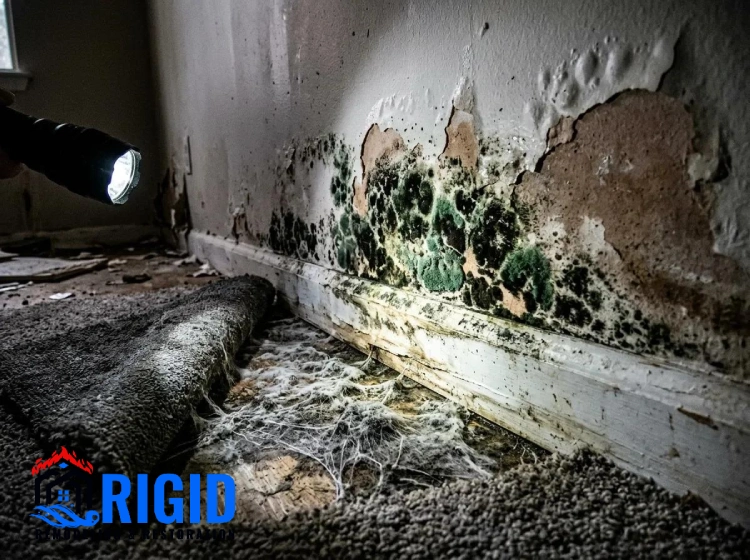
    Large mold patches mean water has been present too long.
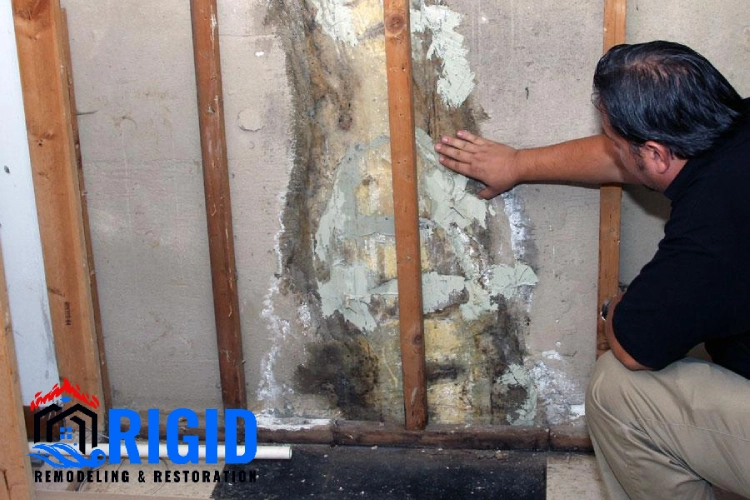
How Long Can Standing Water Sit Before Causing Damage_

How to Prevent Structural Water Damage

The good news is that you can prevent most serious issues. Here’s what to do when water enters your home:

Act Immediately
Time is your biggest enemy. The sooner water is removed, the lower the risk of structural damage.

Remove Standing Water
Use pumps, shop vacuums, or professional equipment.

Dry the Area Completely
Air movers, dehumidifiers, and open windows help. Treat the space until moisture levels return to normal.

Inspect Hidden Spaces
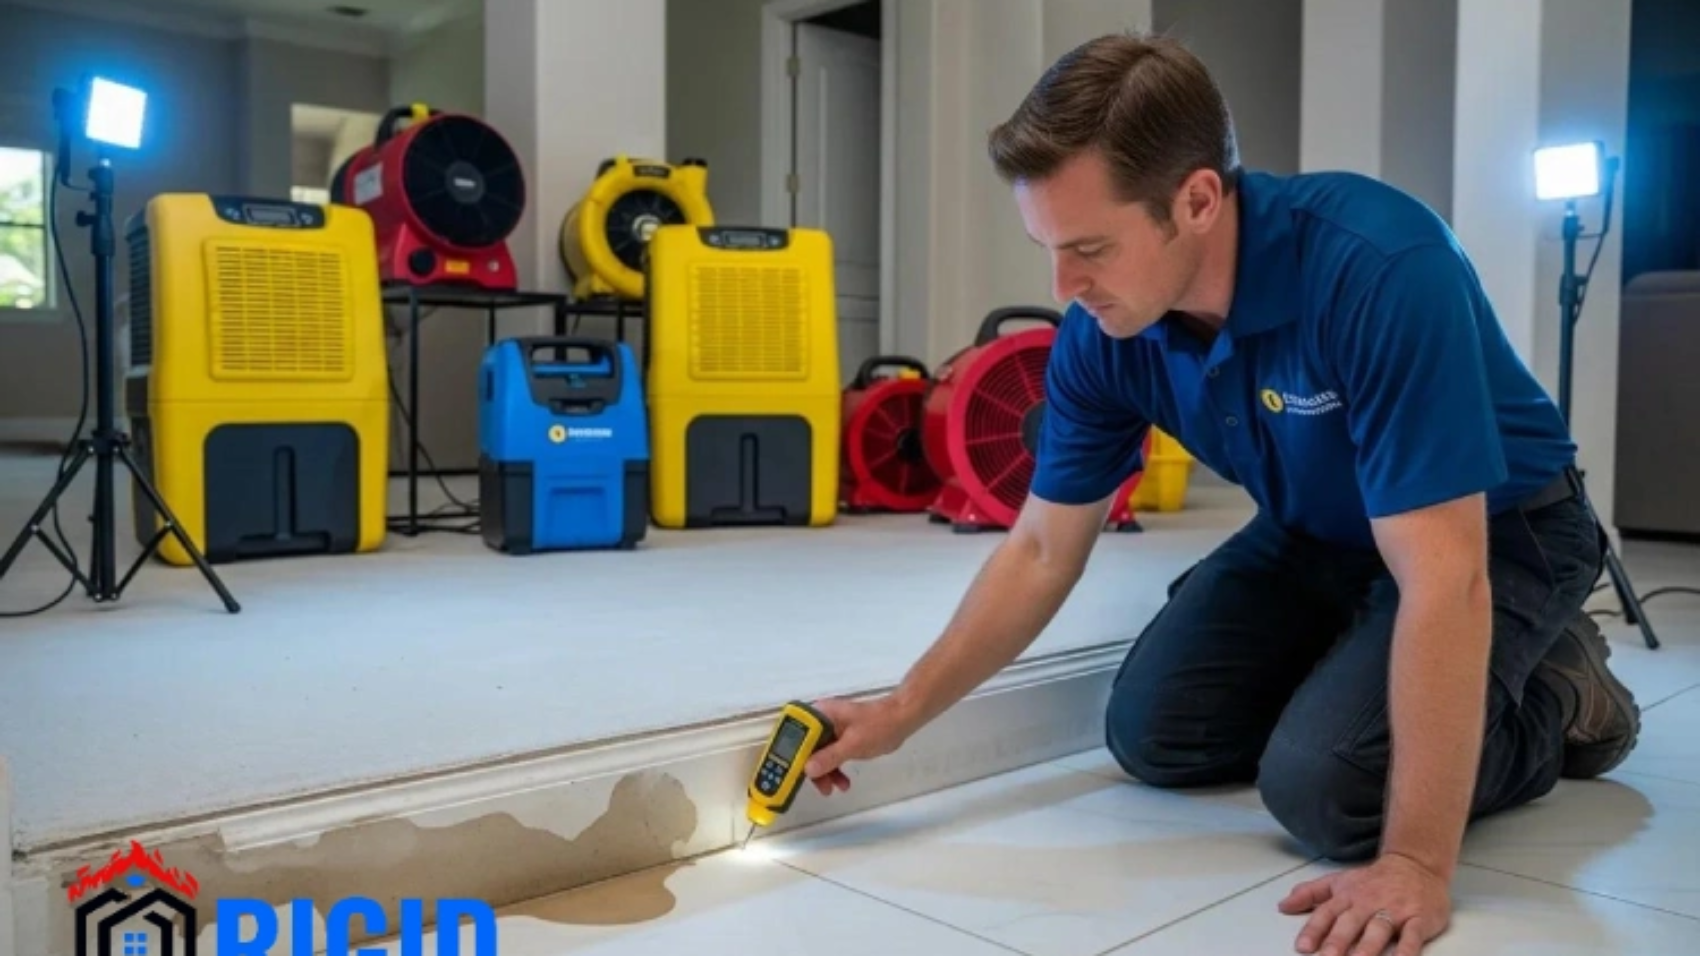
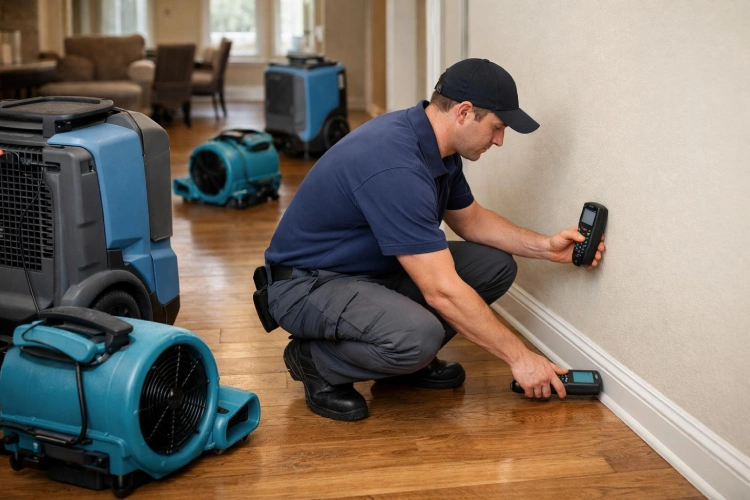
Water can hide behind walls and under floors. Professionals use moisture meters to find trapped water.

Fix Leaks Permanently
Patch roofs, repair pipes, and seal basement walls.

Why Professional Restoration Matters

Many homeowners underestimate how quickly structural water damage can begin. Even clean water can weaken framing in just 24 to 48 hours.

Certified restoration experts:

  • Assess moisture levels deep inside materials
  • Use industrial drying systems
  • Prevent mold growth
  • Repair damaged structure safely

Professionals minimize long‑term costs and protect your home.

Conclusion

Water is more destructive than most people realize. The longer it sits, the worse the outcome. Small problems can become major structural failures in just a few days. Understanding how long before water damages house structure helps you act fast and safeguard your property. If water has entered your home, take swift action. Remove water, dry thoroughly, and call a restoration expert before minor damage becomes a major expense.

If you need reliable information on water removal and repair, visit rigidrestorations.com for guidance and support.

FAQs

How long can water sit before structural damage begins?

Water can begin causing damage to building materials within 24 to 48 hours, especially when it is absorbed by drywall, wood, insulation, or flooring. The longer moisture remains untreated, the greater the risk of warping, swelling, deterioration, and mold growth.

Can water damage get worse even after the water is removed?

Yes. Removing standing water does not always mean the structure is completely dry. Moisture can remain trapped inside walls, floors, insulation, and other materials, allowing damage and mold growth to continue. Professional moisture detection and thorough drying can help prevent hidden problems.

What should I do if water has been sitting inside my home?

The first step is to stop the source of the water if it is safe to do so. Remove standing water, improve ventilation, and dry affected areas as quickly as possible. If water has entered walls, flooring, insulation, or structural components, contacting a professional water damage restoration company is recommended to assess hidden moisture and prevent further damage.
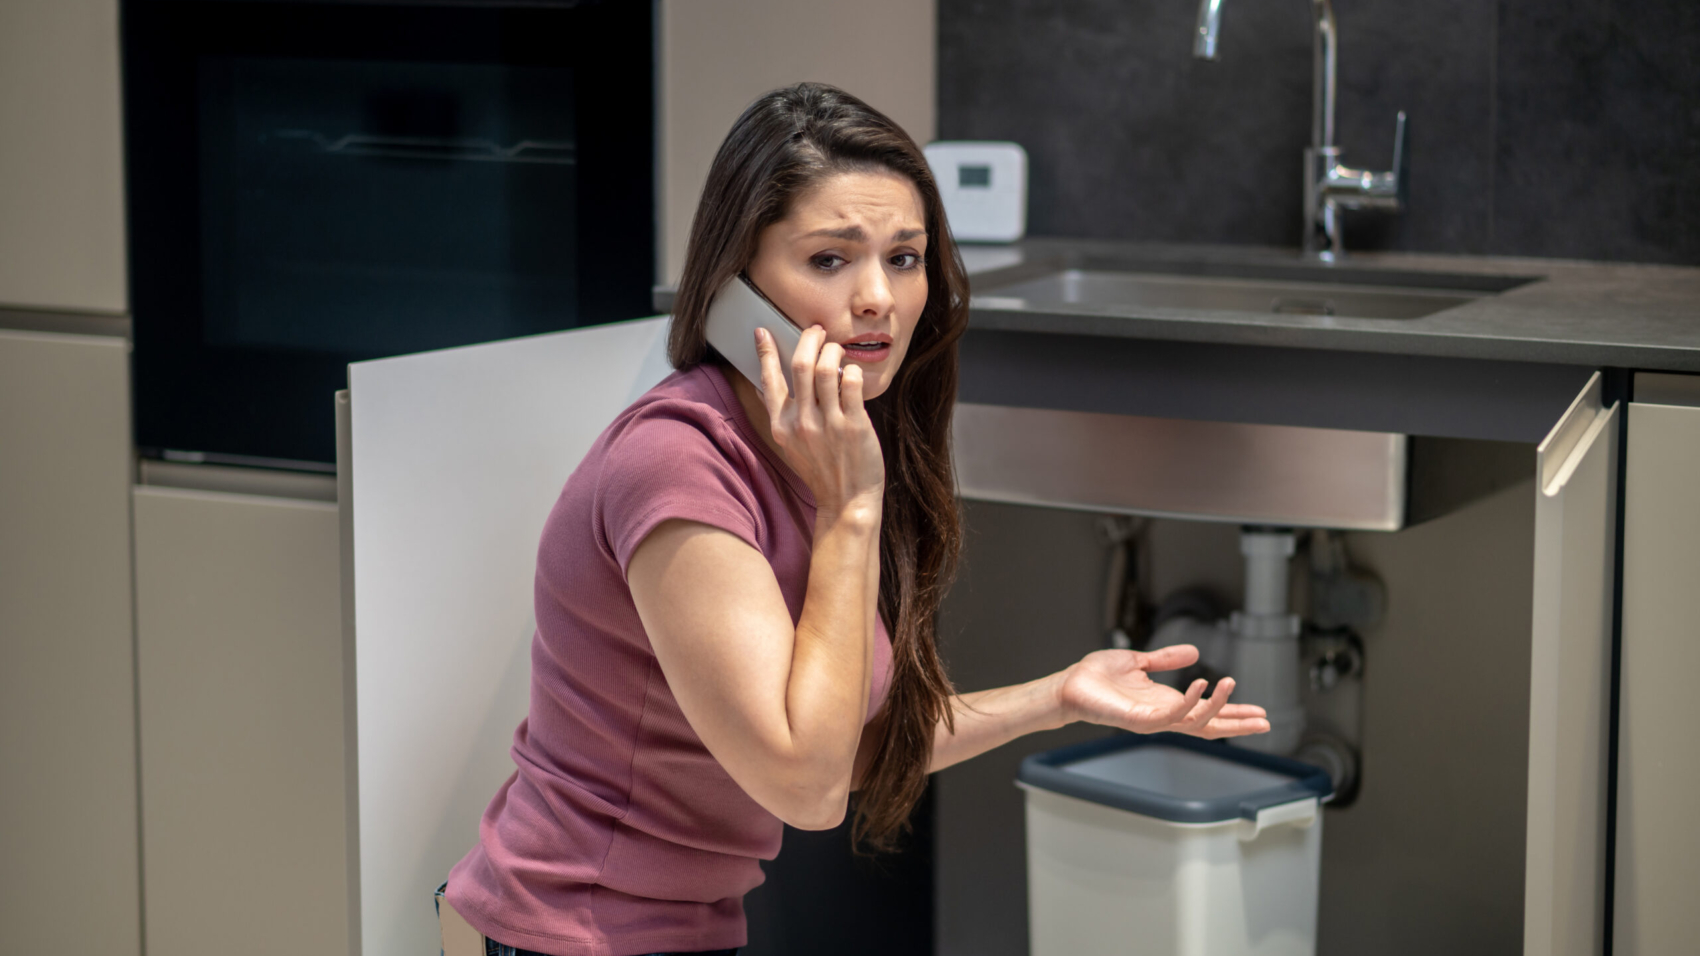
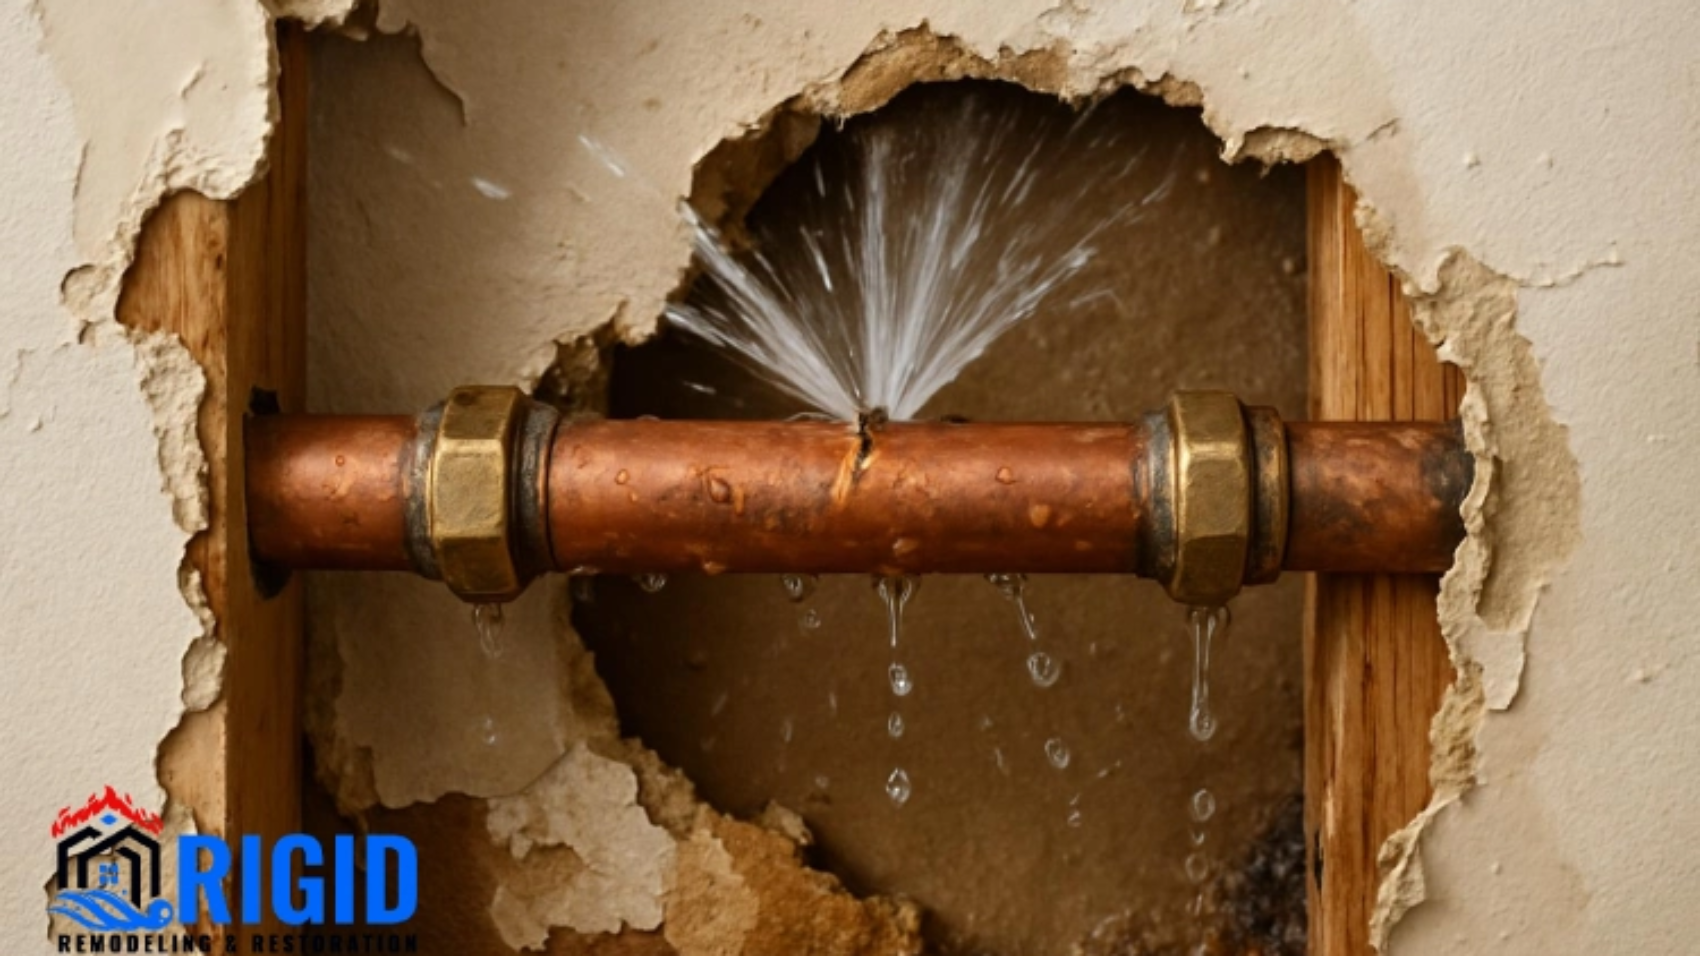
is a leaking water heater an emergency

Is a Leaking Water Heater an Emergency? 5 Critical Signs

A leaking water heater is more than just an inconvenience. In many cases, it signals a serious problem that requires immediate attention. However, not every leak is an emergency. So how do you know when to act fast?

In this guide, we’ll break down the warning signs, causes, and what you should do next. We will also explore how household issues like clogged toilets, dish washer leaks, and plumbing failures can increase the risk of water heater problems.

Why a Leaking Water Heater Should Never Be Ignored

Water heaters are essential for daily comfort. They supply hot water for showers, cleaning, and cooking. However, when a leak develops, it can lead to:

  • Water damage to floors and walls
  • Mold and mildew growth
  • Increased utility bills
  • Potential system failure

Therefore, even a small leak deserves attention. Ignoring it can turn a minor issue into a costly emergency.

Is a Leaking Water Heater Always an Emergency?

Not every leak requires immediate panic. However, some situations demand urgent action.

When It May Not Be an Emergency

In certain cases, the issue may be minor. For example:

  • Loose connections
  • Small valve leaks
  • Condensation buildup

These problems are usually manageable if addressed quickly.

When It Is an Emergency

On the other hand, some leaks indicate serious damage. For instance:

  • A cracked tank
  • Continuous water pooling
  • Sudden pressure buildup
  • Electrical or gas hazards

In these situations, immediate action is necessary to prevent further damage or safety risks.

5 Critical Signs Your Water Heater Leak Is an Emergency

Recognizing the warning signs can save you time, money, and stress. Below are the five most important indicators.

  1. Water Pooling Around the Tank

If you notice water collecting around the base of your heater, take it seriously. While a few drops may come from condensation, consistent pooling suggests a leak.

Moreover, standing water can damage your flooring and create a slipping hazard. Therefore, this is often one of the first signs of a developing emergency.

  1. Sudden Loss of Hot Water

A leaking tank can affect your heater’s ability to function properly. If your hot water suddenly runs out or fluctuates, it may indicate internal damage.

Additionally, this could mean the tank is no longer holding water efficiently. As a result, the system may fail completely if not addressed.

  1. Rusty Water or Corrosion

Discolored water is another red flag. If your hot water appears rusty, it could mean the inside of the tank is corroding.

Over time, corrosion weakens the tank walls. Eventually, this can lead to cracks or complete failure. Therefore, rusty water should never be ignored.

  1. Strange Noises from the Tank

Unusual sounds like popping or rumbling often indicate sediment buildup. While this may seem harmless, it can increase pressure inside the tank.

As pressure builds, the risk of leaks or even rupture increases. Consequently, these noises can signal a developing emergency.

  1. Rapid Increase in Water Bills

A hidden leak can waste a significant amount of water. If your utility bill suddenly spikes without explanation, your water heater could be the cause.

Furthermore, ongoing leaks can worsen over time. Therefore, identifying the issue early can prevent further financial loss.

Common Causes of Water Heater Leaks

Understanding the root cause helps you take the right action. Several factors can lead to leaks.

  1. Aging Tank

Most water heaters last 8–12 years. As they age, internal components wear out. Eventually, the tank may develop cracks.

  1. High Water Pressure

Excessive pressure puts stress on the tank and connections. Over time, this can lead to leaks or bursts.

  1. Faulty Valves

The temperature and pressure relief valve is designed to release excess pressure. If it fails, leaks may occur.

  1. Loose Connections

Pipes and fittings can loosen over time. Although minor, these leaks can still cause damage if ignored.

  1. Household Plumbing Issues

Problems like clogged toilets, dish washer malfunctions, and blocked drains can increase overall pressure in your plumbing system. As a result, your water heater may experience additional strain.

What to Do Immediately If You Notice a Leak

Acting quickly can prevent serious damage. Follow these steps as soon as you detect a problem.

  1. Turn Off the Power Supply

First, shut off the power. For electric heaters, switch off the circuit breaker. For gas heaters, turn off the gas supply.

  1. Shut Off the Water Supply

Next, stop the water flow to prevent further leakage. Locate the shut-off valve near the heater.

  1. Drain the Tank

If necessary, drain the tank to reduce pressure and minimize water damage.

  1. Inspect the Leak Source

Try to identify where the leak is coming from. This helps determine whether it’s a minor fix or a major issue.

  1. Call a Professional

If the problem is unclear or severe, contact a licensed plumber immediately. Professional help ensures the issue is handled safely and effectively.

Can You Fix a Leaking Water Heater Yourself?

In some cases, yes. However, it depends on the severity of the issue.

DIY Fixes May Work For:

  • Tightening loose connections
  • Replacing minor valves
  • Addressing condensation issues

Professional Help Is Needed For:

  • Tank leaks
  • Internal corrosion
  • Gas-related problems
  • Major pressure issues

Attempting complex repairs without proper knowledge can be dangerous. Therefore, it’s best to leave serious problems to experts.

Preventing Water Heater Leaks

Prevention is always better than repair. With regular maintenance, you can extend the life of your water heater.

Schedule Routine Inspections:

Annual check-ups can identify potential issues early. This reduces the risk of unexpected leaks.

Flush the Tank Regularly:

Removing sediment buildup helps maintain efficiency and prevents pressure issues.

Monitor Water Pressure:

Keep your home’s water pressure within a safe range. This protects your plumbing system and appliances.

Fix Plumbing Issues Promptly:

Address problems like clogged toilets, dish washer leaks, and slow drains as soon as they appear. These issues can indirectly affect your water heater.

Replace Old Units:

If your water heater is nearing the end of its lifespan, consider replacing it before it fails.

When to Replace Instead of Repair

Sometimes, replacing the unit is the smarter choice. You should consider replacement if:

  • The tank is leaking
  • The unit is over 10 years old
  • Repairs are frequent and costly
  • Efficiency has significantly decreased

Although replacement requires an upfront investment, it can save money in the long run.

Final Thoughts

So, is a leaking water heater an emergency? It can be. While some leaks are minor, others signal serious problems that require immediate action.

By recognizing the warning signs, you can respond quickly and avoid costly damage. Issues like clogged toilets, dish washer malfunctions, and overall plumbing pressure can contribute to the problem, making regular maintenance essential.

Ultimately, staying proactive is the best way to protect your home. If you’re ever unsure, it’s always safer to treat a leak as an emergency and seek professional help right away.


Hidden Signs of Water Damage Behind Walls

Hidden Signs of Water Damage Behind Walls

Water damage is not always obvious. While puddles and stains get noticed quickly, hidden water damage can lurk behind walls and weaken your home over time. If left unchecked, it can lead to serious problems like mold growth, structural issues, and expensive repairs. Knowing the signs of hidden water damage in walls helps you act early and protect your house. In this article, we explore common clues, causes, risks, and what to do when you find hidden water damage.

What Is Hidden Water Damage?

Hidden water damage happens when moisture seeps into wall cavities without clear surface signs at first. This can occur from:

  • Leaking pipes inside walls
    • Roof leaks dripping down wall studs
    • Poorly sealed windows or exterior walls
    • Condensation buildup

Because the damage stays behind drywall or paneling, homeowners may not notice it until problems become severe.

Why Hidden Water Damage Is Dangerous

When water remains trapped in walls, it creates an environment that encourages:

  • Mold and mildew growth
    • Wood rot in framing and studs
    • Insulation degradation
    • Corrosion of metal components

Over time, wall damage from moisture can compromise the integrity of your home and create health hazards. Early detection is essential.

Common Causes of Hidden Water Damage

Understanding what leads to hidden water damage helps you prevent it. Here are common causes:

  • Leaky Pipes

Plumbing running inside walls can develop slow leaks. These leaks may drip for weeks or months before becoming visible. Slow leaks are dangerous because walls insulate the moisture and hide the problem.

  • Faulty Roof or Flashing

Water can enter from the roof and travel down inside walls. Missing flashing or damaged shingles allow rain to infiltrate. The water then spreads behind siding or drywall where it remains hidden.

  • Poor Sealing Around Openings

Windows, doors, and vents that are not properly sealed allow rainwater to enter wall cavities. This can happen during storms or even normal rainfall.

  • High Humidity and Condensation

Warm, moist air can condense on cool wall surfaces. This is common in bathrooms, kitchens, and laundry rooms. Over time, condensation can soak insulation and wall materials.

Signs of Hidden Water Damage in Walls

Not all signs are obvious. Here are key indicators that you might have hidden water damage:

  • Musty Odor

One of the earliest signs is a persistent musty smell. This odor often means mold or mildew is growing behind the wall, fed by unseen moisture.

  • Discoloration or Stains

Even when water is behind the surface, stains may slowly appear on drywall or paint. Look for yellow, brown, or gray marks that were not there before.

  • Peeling Paint or Wallpaper

Moisture causes paint to lose adhesion. If wallpaper or paint starts to bubble or peel without an obvious cause, water could be trapped behind the wall.

  • Warped or Soft Spots

Press on walls gently. Soft areas or sections that feel spongy indicate water has saturated the material. Warping or bulging walls are also a strong sign of moisture buildup.

  • Mold Growth on Surface

Small patches of mold appearing on the wall surface may be just the tip of the problem. Mold often starts deeper inside before showing outward signs.

  • Increased Allergy Symptoms

If you or your family experience unexplained sneezing, coughing, or irritation while indoors, hidden mold growth could be the cause. Mold spores circulating from behind walls can trigger symptoms.

  • Higher Utility Bills

In some cases, moisture in walls can reduce insulation effectiveness. When walls hold water, your heating and cooling systems must work harder.

  • Dripping Sounds Inside Walls

If you hear water dripping inside walls when no faucet is running, a leak may be present. This is especially noticeable at night or in quiet conditions.

How Hidden Water Damage Affects Your Home

When left untreated, water in walls leads to problems that impact safety, comfort, and home value:

Structural Weakening
Wood framing and studs degrade over time when exposed to moisture. This weakens support and can lead to sagging or failure.

Mold Infestations
Mold not only damages materials but also affects air quality. Long term exposure to mold can cause health issues.

Insulation Damage
Wet insulation loses its effectiveness and may need replacement. This decreases energy efficiency.

Electrical Hazards
Water contacting electrical wiring inside walls increases the risk of shorts and fire hazards.

How to Confirm Hidden Water Damage

If you suspect hidden water damage, follow these steps:

Visual Inspection

Look for visible signs such as stains, peeling paint, and mold. Check areas near plumbing, windows, and exterior walls.

Moisture Meter Test

Use a moisture meter to detect elevated moisture inside wall surfaces. High readings indicate trapped water.

Infrared Camera Scan

Professional restorers use infrared technology to detect temperature differences in walls. This reveals damp areas behind drywall.

Probe for Softness

Gently press on walls in suspicious areas. Soft or spongy spots confirm moisture intrusion.

Professional Assessment

A qualified restoration expert can fully evaluate hidden water damage, determine the cause, and recommend repairs.

What to Do When You Find Hidden Water Damage

Acting quickly prevents more serious issues. Here is what to do:

  1. Stop the Source
    Turn off the water if a plumbing leak is identified. Fix exterior leaks or roof issues promptly.
  2. Dry the Area
    Use fans, dehumidifiers, and ventilation to remove moisture. Drying prevents mold growth.
  3. Remove Damaged Materials
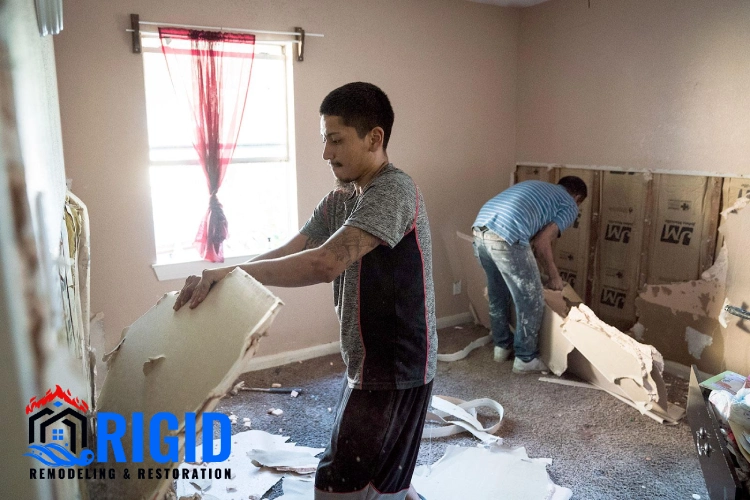
    Wet insulation, drywall, and framing may need removal. This allows full drying and prevents further mold.
  4. Treat for Mold
    Apply appropriate treatments to kill mold colonies. Professionals use EPA approved solutions to clean surfaces.
  5. Repair and Restore
    Once dry, rebuild walls, replace insulation, and repaint. Proper repairs restore both appearance and structure.

Preventing Hidden Water Damage

Prevention is better than repair. Here are steps to avoid hidden moisture:

Regularly Inspect Plumbing
Check under sinks and around toilets. Look for any drips or slow leaks.

Maintain Roof and Gutters
Clean gutters and fix damaged roofing. Proper drainage keeps water out of walls.

Seal Wall Penetrations
Use caulking and weatherproofing around windows, doors, and vents.

Control Indoor Humidity
Use exhaust fans in bathrooms and kitchens. Dehumidifiers reduce condensation risks.

Schedule Professional Checkups
Annual home inspections catch small problems before they escalate.

When to Call a Professional

If you see multiple signs of hidden water damage, call a professional. Restoration experts can:

  • Identify the true source of moisture
    • Dry inaccessible areas effectively
    • Remove mold safely
    • Restore structural integrity

Trying to fix hidden water damage without proper tools and training may lead to incomplete drying and recurring problems.

Conclusion

Hidden water damage is a serious issue that can remain unnoticed until significant harm occurs. By recognizing signs of hidden water damage in walls you protect your home and your family. Look for musty smells, stains, warping, mold, and other clues. When you suspect hidden water behind walls, inspect carefully, dry thoroughly, and repair promptly.

For more information on identifying and repairing water damage, visit rigidrestorations.com.


The Importance of Moisture Mapping After Water Damage

Why Moisture Mapping Is Essential After Water Damage

Moisture mapping plays a vital role in water damage restoration. When a home or building experiences flooding, leaks, or excess humidity, water can travel deep into structures. Without proper moisture detection, hidden dampness can remain long after the visible water is gone. This is where moisture mapping becomes essential. In this article, we will explain what moisture mapping is, why it matters, and how it supports effective water restoration.

What Is Moisture Mapping?

Moisture mapping is the process of identifying and documenting moisture levels throughout a space after water damage. Experts use specialized tools to measure humidity inside walls, under floors, and in ceilings. The goal is to find both surface and hidden moisture that may not be visible to the naked eye.

Moisture mapping during water restoration ensures all wet areas are found. Without it, some moisture pockets can be missed and lead to future problems.

Why Moisture Mapping Matters

When water affects a property, it rarely stays in one place. Water moves downward and horizontally through materials like drywall, wood, and insulation. Visible wet spots are only part of the problem. Moisture can hide deep inside structures.

Without moisture mapping:

  • Hidden dampness stays in walls and floors
  •  Mold can grow unseen
  •  Structural components weaken over time

Moisture mapping provides a complete picture of where water traveled. This helps restoration teams remove all moisture before repairs begin.

How Moisture Travels After Water Damage

Water does not stay where it first enters. It follows gravity and material properties. Understanding this helps clarify why moisture mapping is needed.

Capillary Action

Water moves through small spaces in materials, like wood grains or cracks in concrete. This movement can pull moisture far from the original source.

Gravity

Water flows downward and pools in low spots. Even after visible water is gone, moisture can remain under floors or in wall cavities.

Material Absorption

Porous materials like drywall and insulation soak up moisture like a sponge. Without detection, this trapped water can stay for weeks. Because of these movement patterns, simply drying the surface is not enough. Moisture mapping ensures the entire area is checked.

Why Moisture Mapping Is Necessary After Water Damage

Tools Used for Moisture Mapping

Professionals use advanced equipment to create accurate moisture maps. Common tools include:

Moisture Meters

These devices measure the amount of water in materials. They give readings that show where moisture levels are elevated.

Thermal Imaging Cameras

These cameras detect temperature differences in surfaces. Cooler areas may indicate wet spots because moisture affects surface temperatures.

Hygrometers

These measure humidity in the air. High humidity readings may signal remaining moisture in hidden spaces.

Infrared Technology

Infrared scans help identify moisture behind walls, ceilings, and floors without removing materials.

By combining these tools, experts can locate moisture that would otherwise stay hidden.

The Moisture Mapping Process

Moisture mapping during water restoration follows a systematic process:

  1. Initial Inspection

Restoration technicians begin by inspecting the affected area. They look for visible signs of water damage, such as stains, warped materials, or musty odors.

  1. Moisture Measurements

Using meters, cameras, and sensors, technicians measure moisture levels throughout the space. These measurements are recorded and mapped to show where moisture is concentrated.

  1. Analysis

After collecting data, technicians analyze the results. High readings indicate areas that must be dried further. This analysis helps create a targeted restoration plan.

  1. Drying Strategy

Based on the moisture map, professionals develop a drying strategy. This may include air movers, dehumidifiers, or removal of damaged materials.

  1. Follow‑Up Monitoring

Once drying begins, technicians continue to monitor moisture levels. This ensures that the space reaches normal moisture conditions before work is completed.

Why Moisture Mapping Matters After Water Damage

How Moisture Mapping Improves Water Restoration

Moisture mapping makes the restoration process more effective and efficient. Here’s how:

Complete Moisture Removal

Surface drying is not enough. Moisture mapping ensures all dampness is removed, including hidden moisture inside walls, floors, and ceilings.

Prevents Mold Growth

Mold thrives in damp environments. By finding and removing hidden moisture, moisture mapping reduces the risk of mold taking hold.

Reduces Structural Damage

Water weakens building materials over time. Early detection and drying protect wood, metal, and other structural components from long‑term decay.

Saves Time and Costs

Targeted drying prevents unnecessary removal of materials. Instead of guesswork, technicians focus resources where they are needed most.

Provides Documentation

Moisture maps serve as proof of the extent of water damage and the drying results. This documentation benefits insurance claims and helps homeowners understand the restoration process.

Signs You Need Moisture Mapping

Not all water damage is obvious. Here are signs that moisture mapping is necessary:

  • Musty Odor: A persistent musty smell may indicate hidden moisture and potential mold growth.
  • Discolored Surfaces: Stains or discoloration on walls, ceilings, or floors can signal deeper moisture issues.
  • Warped Materials: Floorboards or drywall that look warped may have absorbed water.
  • Increased Allergy Symptoms: If occupants experience more allergies or respiratory symptoms, hidden mold may be present due to trapped moisture.
  • High Indoor Humidity: Elevated humidity levels can indicate that moisture remains even after visible water has been removed.

When you see any of these indicators after a water event, moisture mapping should be part of the restoration plan.

Common Areas Where Hidden Moisture Hides

Certain areas are more prone to retaining moisture:

  • Wall cavities around plumbing
  • Under hardwood floors
  • Under carpets and padding
  • Behind baseboards
  • Inside ceiling spaces

Moisture mapping tools help locate dampness in these hard‑to‑reach areas.

Moisture Mapping and Insurance Claims

Insurance companies often require documentation of water damage and restoration efforts. Moisture mapping provides:

  • Visual evidence of moisture spread
    • Quantitative readings before and after drying
    • Proof that restoration meets industry standards

This documentation can support claims and help ensure proper coverage.

Why You Should Choose Professionals

Moisture mapping requires training and specialized tools. DIY attempts with basic equipment may miss hidden moisture and allow problems to worsen. Professionals have:

  • Experience interpreting moisture readings
    • Access to advanced scanning technology
    • Training in water restoration best practices

Choosing professionals gives confidence that moisture detection and removal are thorough.

Conclusion

Moisture mapping is essential after water damage because it ensures all hidden moisture is found and removed. Without accurate moisture detection, dampness can remain unnoticed, leading to mold growth, structural weakening, and costly repairs. By using advanced tools and mapping techniques, restoration experts create a clear plan to dry every part of a building effectively.

FAQs

1. What is moisture mapping after water damage?

Moisture mapping is a professional inspection process used to identify the exact areas affected by water damage. Using specialized moisture detection tools, experts can locate hidden moisture behind walls, under floors, and inside building materials to prevent further structural problems and mold growth.

2. Why is moisture mapping important after a water leak or flood?

Moisture mapping helps determine the full extent of water damage that may not be visible to the eye. It allows restoration professionals to create an accurate drying plan, prevent hidden moisture issues, reduce repair costs, and ensure the property is completely dry and safe.

3. Can moisture mapping help prevent mold after water damage?

Yes. Moisture mapping helps identify damp areas where mold can develop. By locating and removing hidden moisture quickly, property owners can significantly reduce the risk of mold growth and long-term damage to walls, floors, and other building materials.

ow Coastal Salt Air Affects Your Home’s Structure

Can Salt Air Increase Property Damage in Coastal Areas?

Living near the coast comes with many benefits: breathtaking views, fresh ocean air, and a calming lifestyle. However, homeowners in coastal regions often face unique challenges, particularly when it comes to property maintenance. One of the most significant threats is the effect of salt air on buildings and structures. Understanding how salt air contributes to coastal property damage is crucial for homeowners, property managers, and investors looking to protect their real estate investments.

Understanding Salt Air and Its Composition

Salt air, also known as sea air, contains high concentrations of sodium chloride and other minerals carried from the ocean by wind and waves. Unlike regular air, coastal air is laden with tiny salt particles that can settle on buildings, fences, vehicles, and other structures. While it may seem harmless, prolonged exposure can accelerate wear and tear, especially when combined with moisture, humidity, and wind.

The Chemical Impact on Building Materials

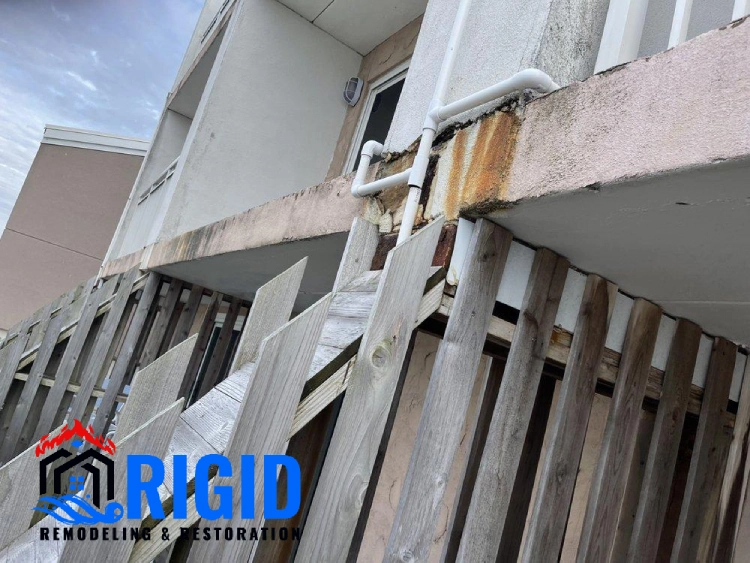
Salt is highly corrosive, particularly when it interacts with metal surfaces. Structures with steel, iron, or aluminum components are particularly vulnerable. When salt deposits accumulate on metal surfaces, they attract moisture from the atmosphere, creating a corrosive environment that accelerates rust and deterioration. Over time, this can compromise the structural integrity of railings, balconies, window frames, and roofing systems.

Even materials like concrete are not immune. Salt particles can penetrate concrete surfaces, causing chemical reactions that lead to cracking, spalling, and overall weakening of the material. Wooden surfaces exposed to salt air may absorb moisture more readily, promoting rot and fungal growth, further contributing to property damage.

Does Salt Air Damage Homes Near the Coast

Impact on Exterior Paint and Finishes

Salt air also takes a toll on paints and exterior finishes. Homes and commercial buildings located near the coast often experience peeling, fading, and blistering of paint over time. Salt particles cling to painted surfaces, making them more susceptible to moisture absorption. Combined with ultraviolet (UV) exposure from the sun, this leads to accelerated fading and degradation. Regular maintenance, including protective coatings and high-quality paint formulations, is essential to mitigate these effects.

How Coastal Winds Exacerbate Damage

In coastal regions, wind plays a significant role in spreading salt particles across surfaces. Strong ocean winds can carry salt spray far inland, reaching areas of the property that might otherwise seem protected. This constant exposure increases the rate of corrosion and surface wear. Properties situated on cliffs, beaches, or elevated terrain are particularly susceptible, as they experience more direct contact with salt-laden winds.

The Role of Humidity in Salt-Induced Damage

Humidity levels near the coast are naturally higher due to the proximity to large bodies of water. Moist, salty air accelerates corrosion and decay processes. Metal surfaces are prone to rusting, wooden structures are at higher risk of rot, and even masonry materials can deteriorate faster under these conditions. Controlling moisture through proper ventilation, dehumidification, and sealing is critical in minimizing damage caused by salt air.

Long-Term Effects on Property Value

Neglecting the impact of salt air can have serious long-term consequences for property value. Corrosion, rot, and structural damage reduce the lifespan of building components, necessitating expensive repairs or replacements. For homeowners, this translates to higher maintenance costs and potential difficulties in selling or insuring the property. Investors and property managers must account for these risks when evaluating coastal real estate investments.

Preventive Measures for Homeowners

Preventing salt-related damage requires proactive planning and maintenance. Here are some key strategies:

  1. Regular Inspections: Conduct frequent inspections of metal, wood, and concrete surfaces. Look for signs of rust, rot, or cracking. Early detection allows for timely repairs before problems worsen.
  2. Protective Coatings: Apply rust-resistant paints and sealants on metal surfaces. For wooden structures, use marine-grade varnishes or sealants that repel moisture and reduce the likelihood of rot.
  3. Quality Materials: Use corrosion-resistant materials such as stainless steel, aluminum, or treated wood for construction in coastal areas. These materials withstand salt exposure better than standard options.
  4. Landscaping Considerations: Plant trees and shrubs strategically to act as windbreaks, reducing direct exposure to salt-laden winds.
  5. Cleaning and Maintenance: Regularly rinse exterior surfaces with fresh water to remove salt deposits. This is particularly effective for vehicles, metal railings, and outdoor furniture.
  6. Roof and Gutter Protection: Inspect roofs and gutters for salt buildup and corrosion. Ensure proper drainage to prevent standing water, which can exacerbate salt-related damage.

The Impact of Salt Air on Coastal Property Damage

Understanding Insurance Implications

Property owners in coastal areas should also consider the insurance implications of salt air damage. Many standard homeowner policies do not cover corrosion or gradual deterioration caused by environmental factors. Reviewing policies carefully and considering additional coverage for coastal property risks can provide financial protection against unforeseen damages.

The Benefits of Professional Assessment

Hiring professional inspectors or restoration experts familiar with coastal property challenges can make a significant difference. These professionals can identify vulnerable areas, recommend appropriate materials, and develop maintenance plans that extend the life of the property. Advanced tools like corrosion mapping and moisture detection can pinpoint hidden issues before they escalate.

Conclusion

Salt air is a silent but powerful factor contributing to coastal property damage. From accelerating metal corrosion to weakening wood and concrete, its effects are pervasive and long-lasting. Homeowners and property managers must adopt preventive measures, choose durable materials, and maintain regular inspections to safeguard their investments. By understanding how salt air affects building materials and acting proactively, it’s possible to enjoy the coastal lifestyle while minimizing costly property damage.

FAQs

1. How does salt air damage properties in coastal areas?
Salt air contains tiny salt particles that can accelerate corrosion and deterioration of building materials. Over time, it can damage metal structures, outdoor equipment, roofing components, windows, and other exposed surfaces by causing rust and weakening materials.

2. What parts of a coastal property are most affected by salt air?
Metal fixtures, fences, balconies, HVAC units, plumbing components, exterior walls, and roofing materials are among the areas most vulnerable to salt air damage. Regular inspections and protective maintenance can help reduce the impact.

3. How can homeowners protect their property from salt air damage?
Homeowners can minimize salt air damage by using corrosion-resistant materials, applying protective coatings, cleaning exterior surfaces regularly, maintaining metal components, and repairing small signs of corrosion before they become major issues.

Comparing Water Mitigation and Water Restoration

The Difference Between Water Mitigation and Water Restoration

When it comes to water damage, the terms “water mitigation” and “water restoration” are often used interchangeably. However, understanding the distinction between these two processes is essential for homeowners, property managers, and insurance professionals. Both play crucial roles in protecting property, minimizing damage, and ensuring safety, but they address different stages of the recovery process.

What Is Water Mitigation?

Water mitigation refers to the immediate steps taken to reduce the severity of water damage after an incident. Its primary goal is to prevent further property deterioration, minimize structural damage, and reduce the risk of mold growth. Mitigation begins the moment water intrusion is discovered, whether it’s caused by flooding, a burst pipe, roof leaks, or plumbing failures.

The process focuses on containment and control rather than full restoration. For example, mitigation may involve removing standing water, moving furniture and personal items to dry areas, and applying temporary fixes to prevent additional water exposure. It is a time-sensitive procedure because delays can significantly increase repair costs and heighten health hazards due to mold and bacterial growth.

Common Water Mitigation Techniques

  1. Water Extraction: Using pumps, vacuums, or other specialized equipment to remove standing water from the property.
  2. Drying and Dehumidification: Industrial fans and dehumidifiers are used to eliminate moisture from walls, floors, and structural components.
  3. Temporary Repairs: Patching leaks, boarding up broken windows, or sealing areas to prevent additional water entry.
  4. Content Relocation: Moving furniture, electronics, and personal belongings to prevent further damage and allow the affected areas to dry.
  5. Preventing Secondary Damage: Quick mitigation helps avoid warped flooring, damaged drywall, and mold infestation.

Water Mitigation vs. Restoration_ What’s the Difference

What Is Water Restoration?

Water restoration, on the other hand, is the process of returning a property to its pre-loss condition. Restoration comes after mitigation has controlled immediate damage and reduced risks. It involves repairing, replacing, or reconstructing affected structures, finishes, and contents. While mitigation addresses urgent concerns, restoration is about complete recovery, functionality, and aesthetics.

Restoration may involve more extensive work, such as replacing flooring, repairing drywall, refinishing cabinetry, or repainting walls. It may also include specialized services like mold remediation or sanitizing affected areas to ensure a safe living environment. Professional restoration teams often coordinate with contractors and insurance companies to provide a comprehensive solution.

Key Differences Between Mitigation and Restoration

Understanding the differences helps homeowners make informed decisions and ensures effective management of water damage incidents. Here are the main distinctions:

  • Timing: Mitigation occurs immediately after water damage to prevent further harm. Restoration takes place after mitigation to rebuild and repair.
  • Purpose: Mitigation focuses on containment and minimizing damage. Restoration focuses on repairing, replacing, and returning the property to pre-loss condition.
  • Techniques: Mitigation uses water extraction, drying, and temporary fixes. Restoration employs structural repairs, remodeling, and replacement of damaged materials.
  • Cost Implications: Proper mitigation can significantly reduce the cost of restoration by preventing secondary damage and mold growth. Delayed mitigation often results in more extensive, expensive restoration work.
  • Professional Equipment: While both processes may use advanced tools, mitigation often relies on pumps, industrial fans, and dehumidifiers. Restoration requires construction equipment, carpentry tools, and specialized repair materials.

Why Both Are Essential?

Skipping mitigation or underestimating its importance can escalate property damage, compromise structural integrity, and create health risks. Similarly, attempting restoration without proper mitigation can lead to incomplete repairs, persistent moisture problems, and hidden mold growth. Together, these processes ensure a holistic approach to water damage management.

Insurance Considerations

Insurance policies typically cover both mitigation and restoration, but understanding the distinction can help when filing claims. Insurance adjusters often look for documented mitigation efforts to justify restoration costs. Prompt mitigation demonstrates proactive action, which may improve claim approval and reduce disputes with insurers.

Homeowners should keep detailed records, including photos and videos, of both mitigation and restoration steps. Professional restoration companies often provide documentation for insurance purposes, including moisture readings, equipment logs, and before-and-after photos.

Preventive Measures to Minimize Water Damage

While mitigation and restoration are crucial after a water event, prevention is always better than repair. Property owners can reduce the need for extensive water mitigation and restoration by implementing preventive measures:

  1. Regular Maintenance: Inspect roofs, gutters, plumbing, and drainage systems for potential leaks.
  2. Water Sensors and Alarms: Install smart water sensors to detect leaks early and trigger immediate mitigation actions.
  3. Proper Landscaping: Ensure that water flows away from the foundation to prevent basement or crawlspace flooding.
  4. Seal Vulnerable Areas: Weatherproof windows, doors, and other openings to reduce water intrusion.
  5. Routine Inspections: Schedule periodic professional inspections for commercial properties to identify hidden water damage risks.

Conclusion

Water mitigation and water restoration are two sides of the same coin in property damage management. Mitigation acts as the first line of defense, controlling damage and preventing secondary issues like mold. Restoration completes the recovery process, ensuring that homes and commercial properties are safe, functional, and aesthetically restored.

FAQs

What is the main difference between water mitigation and water restoration?

Water mitigation focuses on preventing further damage right after a water incident by removing water and drying the area. Water restoration, on the other hand, involves repairing and rebuilding the damaged property to return it to its original condition.

 Do I need both water mitigation and water restoration services?

In most cases, yes. Water mitigation is the first step to stop additional damage, while restoration comes afterward to repair and restore your property. Skipping mitigation can make restoration more costly and complicated.

 How quickly should water mitigation start after water damage?

Water mitigation should begin as soon as possible—ideally within the first 24 hours. The faster the response, the lower the risk of mold growth, structural damage, and higher restoration costs.

Step-by-Step Process of Water Damage Claim Evaluation

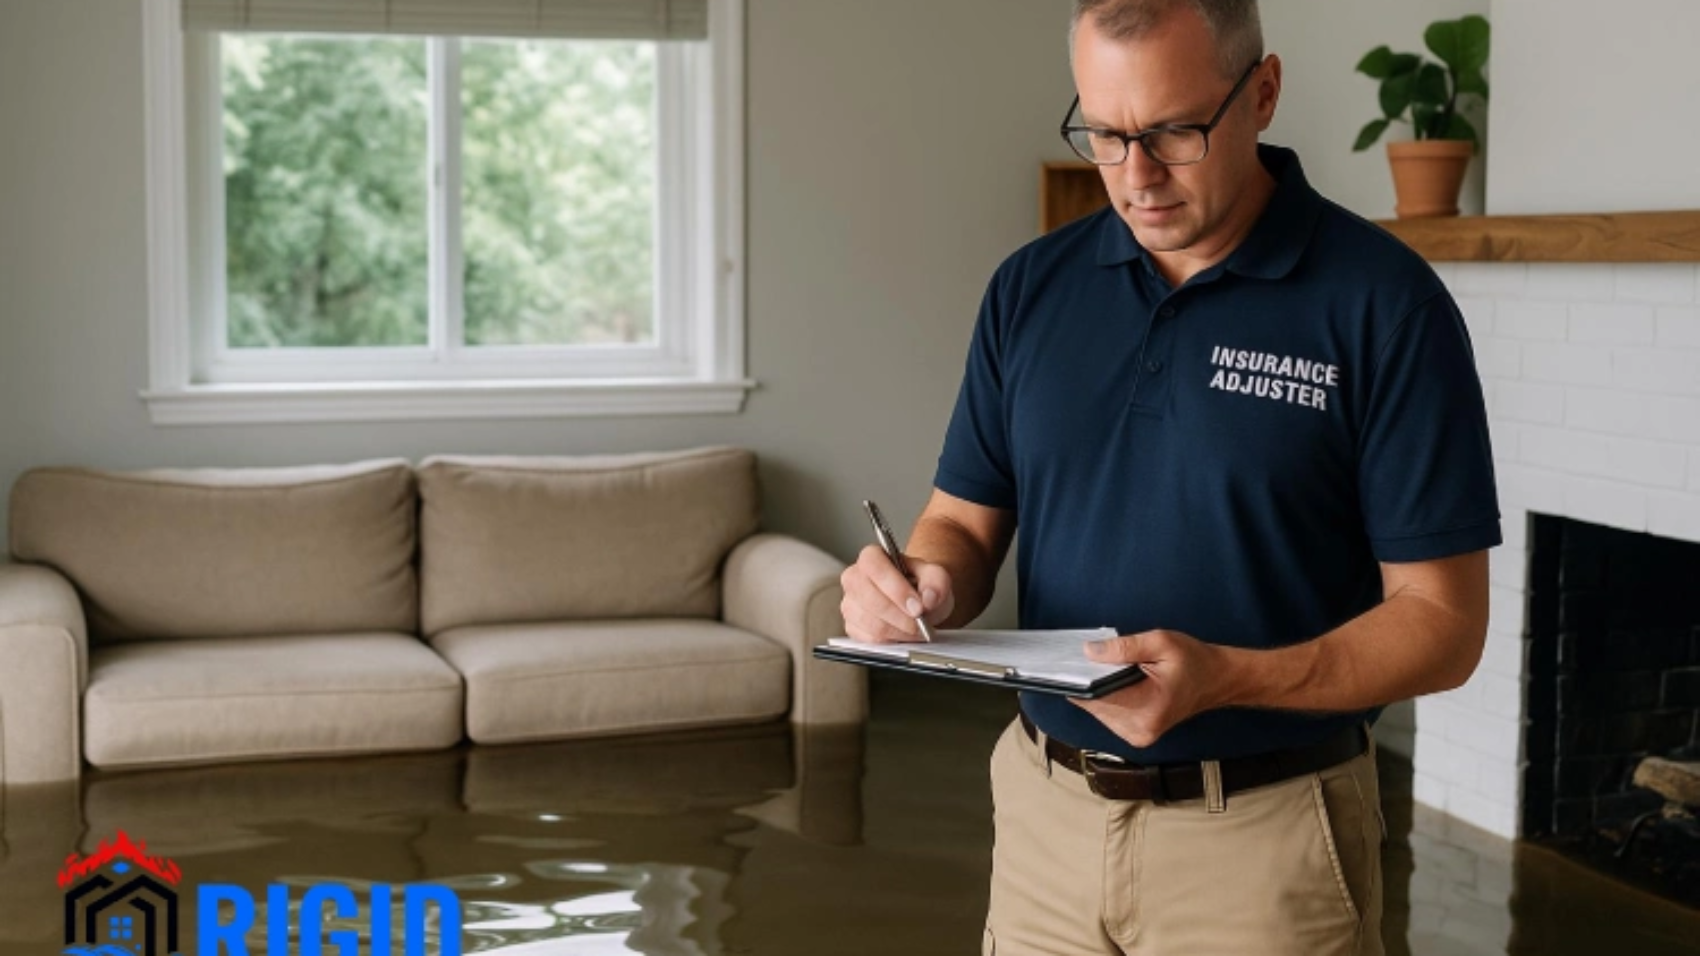
How Insurance Adjusters Evaluate Water Damage Claims?

When water damage strikes a property, filing an insurance claim is often the first step for homeowners and property managers. Understanding how insurance adjusters evaluate water damage claims is crucial to ensure a smooth process and maximize the likelihood of full coverage. Insurance adjusters are trained professionals who assess damage, determine policy coverage, and provide recommendations for repair or replacement. Their evaluation process is meticulous, requiring knowledge of building materials, water damage types, and restoration practices.

The Role of an Insurance Adjuster

Insurance adjusters serve as the link between the policyholder and the insurance company. Their primary goal is to verify the legitimacy of a claim and determine the financial responsibility of the insurer. Adjusters investigate claims thoroughly to avoid fraudulent claims while ensuring that legitimate damages are compensated appropriately.

In water damage claims, adjusters evaluate the extent of the damage, the source of water intrusion, and the impact on both the structure and personal property. They work closely with water mitigation and restoration professionals to document damages accurately.

Initial Assessment of the Property

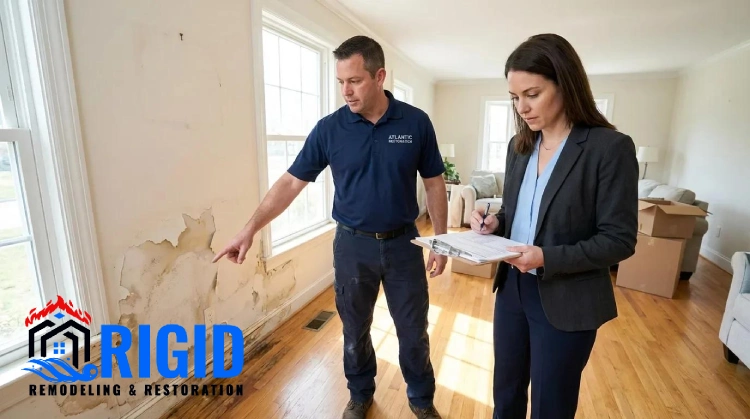
The evaluation begins with an on-site inspection. The adjuster will examine all areas affected by water, including walls, floors, ceilings, and structural components. They may also inspect basements, attics, and crawlspaces, where hidden damage is common.

During this stage, the adjuster will:

  1. Identify the Water Source: Determining whether the damage is caused by a burst pipe, roof leak, flooding, or another source is critical. Some policies exclude coverage for certain types of water intrusion.
  2. Assess Severity: The adjuster will classify the water damage based on its category and extent. Category 1 water involves clean water from a plumbing source, Category 2 involves gray water from appliances or drains, and Category 3 involves black water, which is highly contaminated and poses significant health risks.
  3. Document Visible Damage: Photos, videos, and detailed notes are taken to document the damage for insurance records. This includes any warping, staining, corrosion, or mold growth observed.

Reviewing Mitigation Efforts

Insurance adjusters consider the immediate actions taken to mitigate water damage. Prompt water extraction, drying, and temporary repairs can significantly reduce the overall loss and prevent secondary damage such as mold growth.

Adjusters often collaborate with professional water mitigation companies to confirm that the proper procedures were followed. This documentation helps support the claim and may influence the amount of compensation.

What Insurance Adjusters Check in Water Damage Claims

Evaluating Restoration Needs

After mitigation, the adjuster assesses the restoration work required. This includes estimating costs to repair or replace structural components, flooring, drywall, cabinetry, and other affected areas. Restoration estimates are often prepared in consultation with licensed contractors or restoration specialists.

The adjuster will consider:

  • Cost of materials and labor
  • Extent of demolition or rebuilding required
  • Replacement of personal property damaged by water
  • Potential for long-term structural issues

Policy Coverage and Limitations

Insurance adjusters review the homeowner’s policy to determine coverage limits, deductibles, and exclusions. Standard homeowner’s policies typically cover sudden and accidental water damage, such as burst pipes, but may exclude damage from neglected maintenance or flooding unless additional coverage is purchased.

Understanding policy terms is essential for both the adjuster and the policyholder. Adjusters must evaluate whether the damage qualifies under the policy, and they communicate any coverage limitations clearly to the homeowner.

Detecting Hidden Damage

Many water damage issues are not immediately visible. Insurance adjusters use specialized tools, such as moisture meters and thermal imaging cameras, to detect hidden moisture behind walls, under flooring, or in ceilings. These tools help identify areas that may require additional mitigation or restoration work, ensuring that all damage is accounted for in the claim.

Documentation and Reporting

Thorough documentation is a cornerstone of the claims process. Adjusters prepare detailed reports that include:

  • Photographs and videos of the affected areas
  • Description of water sources and categories
  • Summary of mitigation actions taken
  • Recommended restoration and repair work
  • Cost estimates for structural and content repairs

This documentation is submitted to the insurance company to approve the claim and determine reimbursement amounts.

Communication With Policyholders

A critical part of the adjuster’s role is clear communication with the property owner. They explain the evaluation process, clarify coverage limitations, and outline the next steps. Maintaining transparency helps prevent misunderstandings and ensures that homeowners can make informed decisions regarding restoration and repairs.

Common Challenges in Water Damage Claims

Water damage claims can be complex due to various factors:

  • Delayed Reporting: Waiting too long to report a claim can result in additional damage that may not be covered.
  • Improper Documentation: Inadequate evidence of mitigation and damage can lead to claim disputes.
  • Policy Exclusions: Certain water sources, such as sewer backups or flooding, may not be covered under standard policies.
  • Secondary Damage: Mold growth or structural weakening can complicate claims if not promptly addressed.

Being proactive, documenting damages, and hiring professional mitigation and restoration services can help overcome these challenges.

Tips for Homeowners to Support Their Claim

  1. Act Quickly: Begin mitigation immediately to minimize damage and document all actions taken.
  2. Keep Records: Take photos, videos, and notes of damaged areas before and after mitigation.
  3. Professional Help: Engage certified water restoration and mitigation specialists to ensure proper procedures are followed.
  4. Understand Your Policy: Know what your insurance covers, including limits and exclusions, to avoid surprises during the claims process.
  5. Maintain Communication: Keep an open line with the adjuster, providing requested documents and access to the property as needed.

Conclusion

Insurance adjusters play a critical role in evaluating water damage claims. Their careful inspection, documentation, and collaboration with mitigation and restoration professionals ensure that damages are accurately assessed and claims are processed efficiently. For homeowners and property managers, understanding this evaluation process is key to protecting property, ensuring proper compensation, and navigating the complexities of insurance claims.

FAQs

What do insurance adjusters look for in water damage claims?

Insurance adjusters mainly assess the source of the damage, the extent of the damage, and whether the cause is covered under the policy. They also check for signs of negligence, maintenance issues, or pre-existing damage before approving a claim.

How long does it take for an adjuster to process a water damage claim?

The timeline varies depending on the complexity of the damage, but most claims are inspected within a few days and resolved within 1 to 4 weeks. Delays may occur if additional documentation or repairs assessments are required.

Can a water damage claim be denied?

Yes, a claim can be denied if the damage is caused by neglect, lack of maintenance, or excluded events such as flooding (if not covered). Incomplete documentation or late reporting can also impact approval.

The Importance of Emergency Preparedness in Commercial Buildings

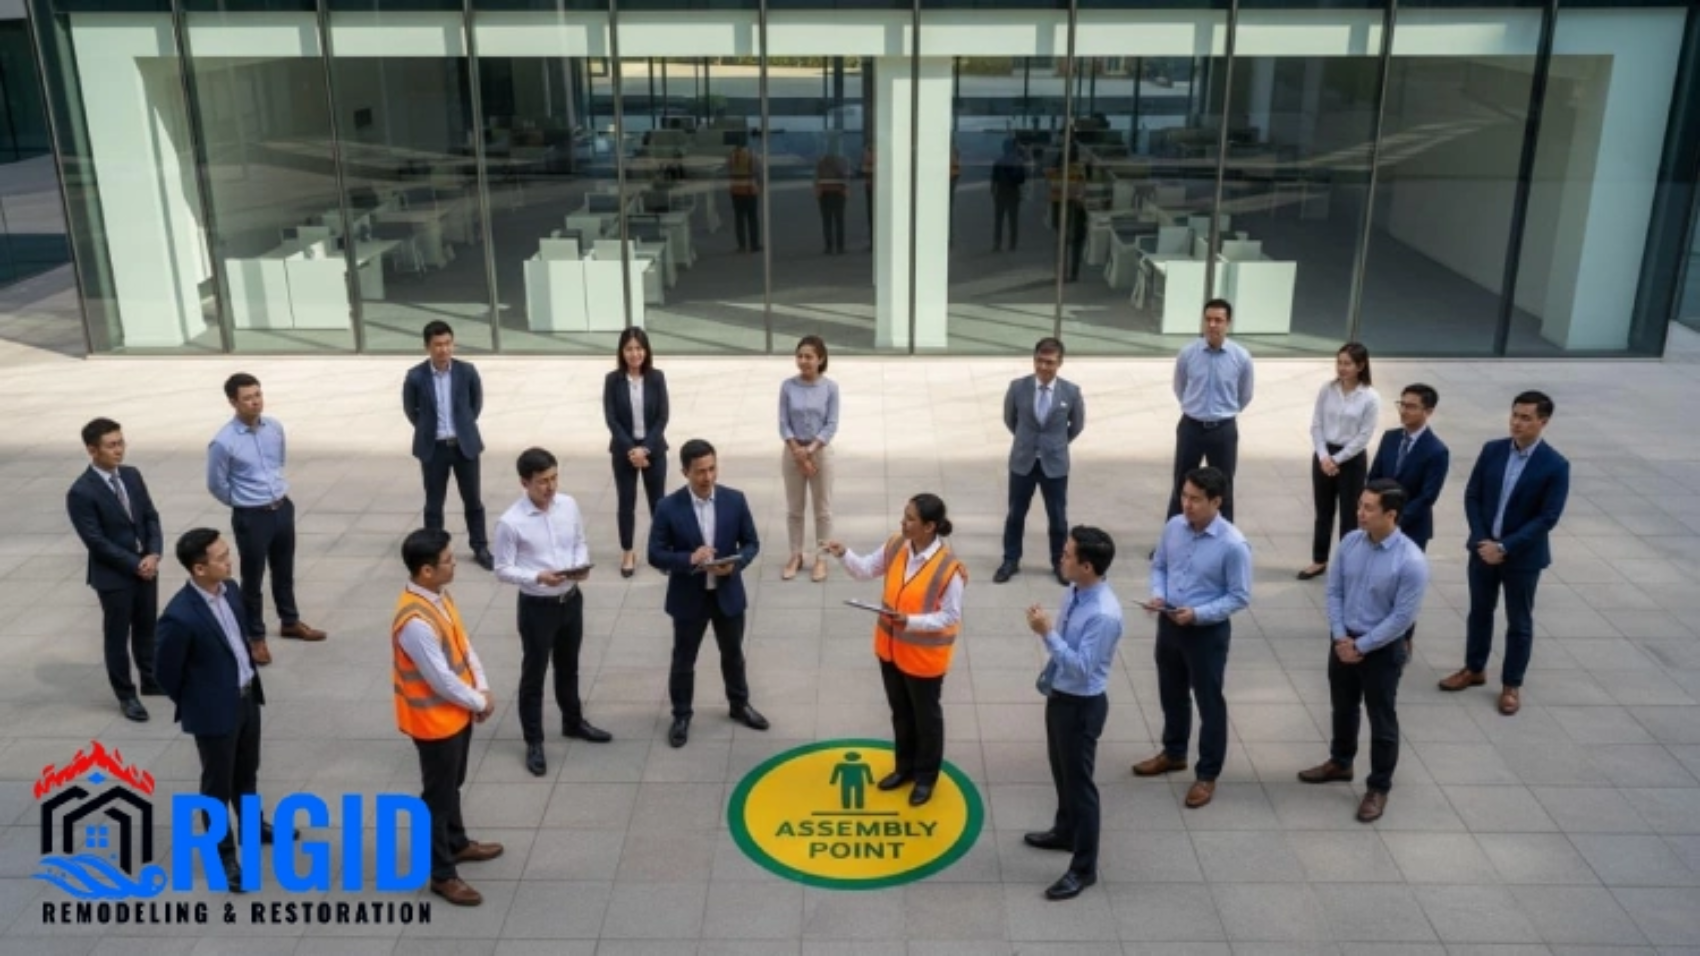
Why Commercial Buildings Need Emergency Response Plans

Commercial buildings face unique risks that can cause significant financial loss, structural damage, and endanger the safety of occupants. Water damage, fire, natural disasters, and other emergencies require immediate attention to minimize these risks. This is where an emergency response plan becomes critical. By having a structured plan in place, commercial property owners, managers, and tenants can respond effectively to unexpected events, ensuring safety, reducing downtime, and protecting assets.

Understanding Emergency Response Plans

An emergency response plan is a documented strategy outlining procedures to follow during emergencies. For commercial properties, this includes steps for evacuation, asset protection, communication, and damage mitigation. Unlike residential buildings, commercial structures have complex systems, multiple tenants, high-value equipment, and business operations that must be maintained. A comprehensive plan ensures a coordinated response that minimizes risk and accelerates recovery.

Importance of Emergency Response Planning in Commercial Buildings

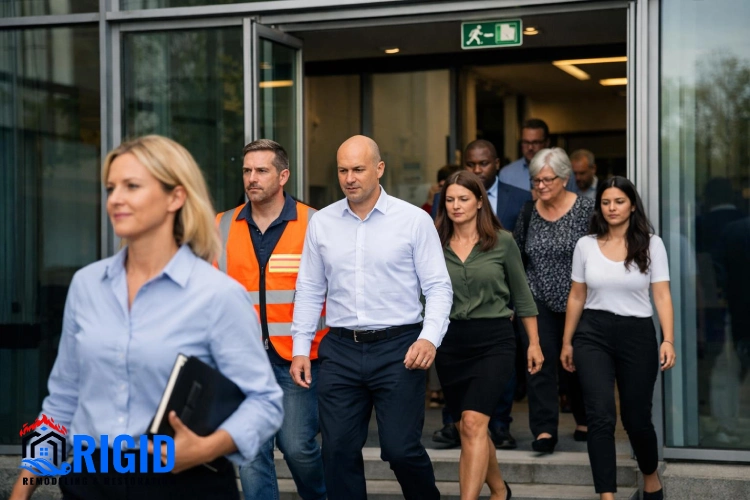
  1. Protection of Occupants: Safety is the top priority. A well-designed plan ensures employees, customers, and visitors know how to evacuate safely, access emergency exits, and locate safety equipment such as fire extinguishers or first aid kits.
  2. Reducing Property Damage: Rapid response can prevent minor incidents from escalating into severe damage. For instance, immediate action during water intrusion or flooding can reduce structural damage, protect electrical systems, and minimize content loss.
  3. Business Continuity: Downtime in commercial operations can result in lost revenue and reputational harm. Emergency response plans help maintain continuity by outlining backup systems, temporary relocation options, and communication protocols for stakeholders.
  4. Regulatory Compliance: Many commercial buildings are required by law to have emergency response procedures, fire safety protocols, and disaster preparedness measures. Having a plan ensures compliance with occupational safety and building regulations.

Key Components of a Commercial Emergency Response Plan

  • Risk Assessment: Identify potential hazards specific to the building, including flooding, fire, chemical spills, or power outages. Evaluating the likelihood and impact of each hazard informs the response strategies.
  • Evacuation Procedures: Clearly mark exits, define escape routes, and assign responsibilities to staff. Regular evacuation drills ensure that everyone understands their role.
  • Communication Protocols: Establish a chain of command and communication channels for emergencies. This includes alerts, notifications, and coordination with local emergency services.
  • Resource Allocation: Ensure that emergency supplies, such as first aid kits, fire extinguishers, and backup power systems, are available and accessible.
  • Mitigation Measures: Outline actions to reduce property damage, such as shutting off water or gas lines, moving equipment to safe zones, and initiating immediate mitigation services for water or fire damage.
  • Recovery Plan: Include post-incident procedures, such as assessment, repairs, insurance claims, and restoration efforts. Early planning reduces downtime and financial loss.

Water Damage and Emergency Response

Water damage is a common risk for commercial properties, caused by burst pipes, storms, flooding, or HVAC system failures. Without a prompt response, water can compromise structural integrity, promote mold growth, and damage critical equipment. Emergency response plans include immediate water extraction, professional mitigation, and drying procedures to minimize damage. Having a relationship with a certified restoration company ensures that commercial buildings receive rapid, professional assistance when water damage occurs.

Fire Safety and Response

Fire emergencies require clear and practiced response plans. Commercial buildings often house flammable materials, electrical equipment, and multiple tenants, making fire containment complex. Emergency response plans designate fire wardens, establish evacuation routes, and include coordination with local fire departments. They also outline steps to protect critical assets, secure important documents, and minimize operational disruptions.

Why Every Commercial Building Must Have an Emergency Plan

Benefits of Pre-Planning

  1. Faster Response Times: Having a plan ensures that staff can act immediately, reducing the severity of property damage and protecting occupants.
  2. Cost Savings: Timely intervention during water or fire emergencies minimizes repair and restoration costs. Early mitigation prevents secondary damage such as mold or structural decay.
  3. Insurance Compliance: Insurers often require documented emergency procedures to validate claims. A prepared building demonstrates proactive risk management, potentially lowering premiums.
  4. Staff Confidence: Employees trained in emergency procedures are less likely to panic during an actual event, promoting safety and order.

Implementing an Emergency Response Plan

  • Conduct a detailed risk assessment for the property
  • Develop written procedures and assign responsibilities
  • Train staff and tenants on emergency protocols
  • Conduct regular drills to practice evacuation and mitigation procedures
  • Establish relationships with local emergency services and professional restoration companies
  • Review and update the plan periodically to address new risks or changes in building operations

Conclusion

Commercial buildings face unique challenges that require careful planning for emergencies. From water damage and fire to natural disasters, having a structured emergency response plan ensures the safety of occupants, minimizes property damage, and supports business continuity. Rapid response reduces financial losses, preserves valuable assets, and helps maintain regulatory compliance.

Frequently Asked Questions (FAQ)

1. Why are emergency response plans essential for commercial buildings?
Emergency response plans are crucial because they help protect lives, reduce property damage, and ensure a fast, organized reaction during unexpected events like fires, earthquakes, or security threats. Without a clear plan, confusion and delays can increase risks and worsen the situation.

2. What should be included in a commercial building emergency response plan?
A comprehensive plan should include evacuation procedures, emergency contact information, roles and responsibilities for staff, communication strategies, and protocols for different types of emergencies. Regular training and drills should also be part of the plan to ensure preparedness.

3. How often should emergency response plans be updated and practiced?
Emergency response plans should be reviewed and updated at least once a year or whenever there are major changes in the building or staff. Drills should be conducted regularly to ensure everyone knows what to do in real emergency situations.

How Moisture Levels Influence Mold After Water Damage

How Humidity Levels Affect Mold Growth After Flooding

Flooding can cause extensive damage to residential and commercial properties, but one of the most persistent and dangerous consequences is mold growth.

Mold thrives in moist environments, and humidity levels play a critical role in determining how quickly and extensively it spreads. Understanding the relationship between humidity and mold growth is essential for homeowners, property managers, and restoration professionals seeking to protect both property and occupant health.

The Role of Humidity in Mold Development

Humidity refers to the amount of water vapor present in the air. When humidity levels are elevated, moisture can accumulate on walls, ceilings, floors, and other surfaces. After flooding, excess moisture in the building structure creates ideal conditions for mold spores, which are naturally present in the environment, to germinate and multiply.

Mold can begin growing within 24 to 48 hours if surfaces remain damp, and the process accelerates as humidity levels rise. The higher the relative humidity, the faster mold spreads, affecting not only structural materials but also the indoor air quality.

Impact of Humidity on Mold Formation After Flooding

Critical Humidity Thresholds for Mold Growth

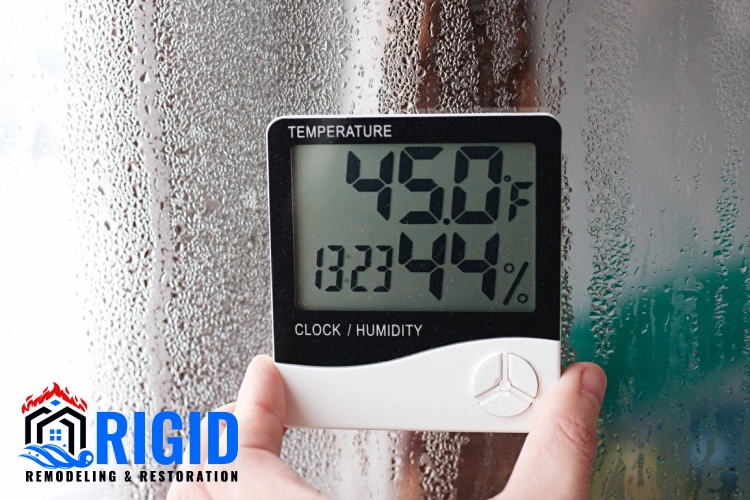
Research and restoration experience indicate that mold growth becomes a significant risk when indoor humidity exceeds 60%. In post-flood environments, relative humidity can reach 70–90% if proper drying techniques are not applied. Prolonged exposure to these levels promotes the growth of common molds such as Aspergillus, Penicillium, and Cladosporium.

How Flooding Exacerbates Humidity Problems

Flooding introduces large volumes of water into a building, soaking flooring, drywall, insulation, and other absorbent materials. Without prompt removal and drying, moisture remains trapped, elevating humidity throughout the affected areas. Even after surface water is extracted, residual moisture in hidden cavities, crawl spaces, and behind walls can maintain high humidity levels, creating long-term mold risk.

Additionally, floodwater may introduce contaminants, providing nutrients for mold to thrive. The combination of high humidity and organic matter in building materials accelerates the mold proliferation process.

Health Risks of Mold Growth

Mold is not just a property concern—it is a health hazard. Exposure to mold spores can trigger respiratory issues, allergic reactions, sinus infections, and asthma attacks. In severe cases, toxic molds such as Stachybotrys chartarum (black mold) can cause more serious health complications. Post-flooding environments are particularly dangerous because the combination of high humidity and stagnant water accelerates mold growth.

Signs of Mold Growth After Flooding

Property owners should watch for early indicators of mold after flooding:

  • Musty or earthy odors
  • Discoloration or black spots on walls, ceilings, or floors
  • Peeling, bubbling, or warped paint and wallpaper
  • Allergic reactions in occupants, such as coughing, sneezing, or irritation

Effects of Humidity on Mold Growth After Flooding

Prompt action is essential once these signs appear, as mold can spread rapidly and penetrate porous materials.

Mitigating Mold Growth Through Humidity Control

Controlling humidity is the most effective way to prevent mold growth after flooding. Professional restoration companies employ several strategies:

  1. Water Extraction: Removing standing water immediately after a flood reduces moisture and limits humidity levels.
  2. Drying Equipment: Industrial fans, blowers, and dehumidifiers remove moisture from air and surfaces, lowering relative humidity to safe levels.
  3. Ventilation: Opening windows and using HVAC systems can help circulate air and remove moisture, further reducing humidity.
  4. Moisture Monitoring: Using moisture meters and sensors ensures that all areas, including hidden cavities, are dry and safe from mold risk.
  5. Preventive Treatments: Application of antimicrobial solutions on affected surfaces helps prevent mold spores from germinating, particularly in high-humidity areas.

Long-Term Humidity Management

Even after immediate flood damage is addressed, maintaining proper humidity levels is critical. Installing dehumidifiers, monitoring indoor air quality, and addressing leaks promptly can prevent residual moisture from triggering mold growth. Relative humidity should ideally remain below 50% in indoor environments to minimize mold risk.

Insurance and Restoration Considerations

Insurance companies often require documentation of flood damage and mitigation efforts. Proper humidity control is a crucial part of restoration and helps support claims for mold remediation. Restoration professionals provide detailed reports, including moisture readings and drying timelines, which are essential for insurance purposes.

Preventive Tips for Property Owners

  • Immediate Action: Begin water extraction and drying as soon as flooding occurs.
  • Monitor Humidity: Use hygrometers to track relative humidity in affected areas.
  • Hire Professionals: Certified restoration companies have the equipment and expertise to manage post-flood humidity and prevent mold growth.
  • Check Hidden Areas: Crawl spaces, attics, and wall cavities are often overlooked but are prime locations for mold if humidity remains high.
  • Maintain HVAC Systems: Proper ventilation and air conditioning can help manage indoor humidity levels long-term.

Conclusion

High humidity after flooding creates the perfect conditions for mold growth, which can cause significant property damage and pose serious health risks. Controlling humidity through prompt water extraction, professional drying, and ongoing monitoring is critical for preventing mold proliferation.

FAQs

1. How does humidity contribute to mold growth after flooding?
High humidity creates the perfect environment for mold spores to grow and spread rapidly. After flooding, excess moisture in the air and building materials accelerates mold development, often within 24 to 48 hours.

2. What humidity level promotes mold growth in flooded areas?
Mold typically begins to grow when indoor humidity levels rise above 60%. After flooding, humidity can easily exceed this level, making immediate drying and dehumidification essential.

3. How can you control humidity to prevent mold after flooding?
You can control humidity by using dehumidifiers, improving ventilation, and removing wet materials quickly. Keeping indoor humidity below 50% significantly reduces the risk of mold growth.

How Serious Is Water Damage After 30 Days Without Repairs

What Happens If Water Damage Is Left Untreated for 30 Days?

Water damage is one of the most common and destructive problems that homeowners and property managers face. While immediate action is always recommended, some property owners may underestimate the severity of the damage or delay restoration. Understanding what happens if water damage is left untreated for 30 days is essential for preventing long-term structural damage, health hazards, and costly repairs.

The Immediate Effects of Water Damage

When water infiltrates a property, it begins to affect building materials almost immediately. Wood, drywall, and carpeting absorb moisture quickly, leading to swelling, warping, and staining. Electrical systems may also be compromised, creating potential fire hazards or short circuits. While initial effects can often be mitigated with prompt action, delaying treatment allows the damage to escalate.

Structural Deterioration

One of the most critical risks of untreated water damage is the weakening of the property’s structural integrity. Water can seep into the foundation, framing, and load-bearing walls, causing wood to warp, rot, or delaminate. Metal components, such as nails, fasteners, and steel reinforcements, are prone to corrosion over time. Concrete may develop cracks or spalling due to prolonged moisture exposure. After 30 days, untreated water damage can result in major structural compromise, making repairs more complex and expensive.

30 Days After Water Damage_ What Risks Should You Expect

Mold and Mildew Growth

Mold growth is one of the fastest and most dangerous consequences of untreated water damage. Mold spores begin to develop within 24 to 48 hours in moist environments. By 30 days, mold colonies can spread extensively through drywall, insulation, carpeting, and behind walls. Mold not only damages building materials but also poses serious health risks, including allergic reactions, respiratory issues, and infections. Certain types of mold, such as black mold (Stachybotrys chartarum), are toxic and require professional remediation.

Damage to Personal Property

Water damage affects more than just the structure—it also damages personal belongings. Furniture, electronics, documents, clothing, and sentimental items can become ruined if water damage is not addressed promptly. Prolonged exposure increases the likelihood of irreversible damage, such as wood swelling, fabric discoloration, and corrosion of metals in electronics. By the 30-day mark, many items may require replacement rather than restoration.

Secondary Damage Risks

Secondary damage refers to problems that develop after the initial water event, often due to delayed mitigation. Untreated water can lead to:

  • Odor Development: Stagnant water and damp materials produce unpleasant, persistent odors that are difficult to eliminate.
  • Pest Infestations: Moist environments attract insects and rodents, which may cause further damage and hygiene issues.
  • Electrical Hazards: Standing water or moisture in walls can compromise wiring, creating fire or electrocution risks.
  • Decreased Property Value: Untreated water damage significantly lowers market value and makes properties harder to sell or insure.

Health Hazards from Prolonged Water Damage

Exposure to untreated water damage can create serious health risks for occupants. Mold spores and bacteria thrive in wet conditions, leading to respiratory issues, asthma attacks, sinus infections, and allergic reactions. Contaminated water (Category 2 or Category 3) may contain pathogens or chemicals that pose additional risks. Leaving water damage untreated for 30 days exponentially increases these dangers.

Insurance Implications

Insurance policies often require timely reporting and mitigation of water damage. Delaying action for 30 days can complicate insurance claims or even result in denied coverage. Insurers expect policyholders to take reasonable steps to prevent further damage after the initial water event. Documenting mitigation efforts, hiring professional restoration services, and maintaining clear records help support claims and ensure coverage.

The Consequences of Leaving Water Damage Untreated for 30 Days

Signs That Water Damage Is Getting Worse

Homeowners should watch for these warning signs when water damage goes untreated:

  • Visible mold or mildew growth on walls, ceilings, or floors
  • Persistent musty odors
  • Warped, buckled, or discolored flooring and drywall
  • Rust or corrosion on metal surfaces
  • Increased humidity and condensation inside the home
  • Structural sagging or cracking

Recognizing these signs early can prevent further damage and reduce repair costs.

Preventive Steps for Homeowners

Even if water damage has occurred, taking action before 30 days can dramatically reduce long-term impacts. Recommended steps include:

  1. Immediate Water Extraction: Remove standing water using pumps, wet/dry vacuums, or professional extraction equipment.
  2. Drying and Dehumidification: Use fans, dehumidifiers, and ventilation to remove moisture from affected areas.
  3. Professional Mitigation: Engage water damage restoration specialists to assess damage, prevent mold growth, and repair critical structural components.
  4. Content Protection: Move furniture, electronics, and valuables to dry, safe areas.
  5. Monitoring: Track moisture levels using sensors or professional tools to ensure thorough drying.

Long-Term Considerations

If left untreated beyond 30 days, water damage can lead to costly reconstruction. Walls may need complete replacement, flooring may require full removal, and mold remediation may involve specialized containment and cleaning procedures. In severe cases, entire structural components could fail, requiring major renovation. Proactive intervention saves money, reduces health risks, and preserves property value.

Conclusion

Leaving water damage untreated for 30 days can have catastrophic effects on a property. From structural deterioration and mold growth to damage to personal belongings and health hazards, the consequences are severe. Immediate water mitigation and professional restoration are essential to minimize damage and protect both property and occupants. Homeowners and property managers must act quickly, document damage, and engage certified professionals to ensure effective recovery and long-term safety.

FAQs

What happens after 30 days of untreated water damage?

After 30 days, water damage can lead to severe structural deterioration, including weakened drywall, warped flooring, and compromised foundations. Mold growth becomes widespread, which can pose serious health risks and significantly increase repair costs.

Is mold guaranteed after 30 days of water damage?

In most cases, yes. Mold can start growing within 24–48 hours, so after 30 days, it is almost certain that mold has spread extensively throughout affected areas, including hidden spaces like walls and insulation.

Can a house recover from long-term water damage without professional help?

It is very unlikely. Long-term water damage usually requires professional restoration services because moisture penetrates deep into materials. Without proper drying, cleaning, and repairs, the damage will continue to worsen over time.